
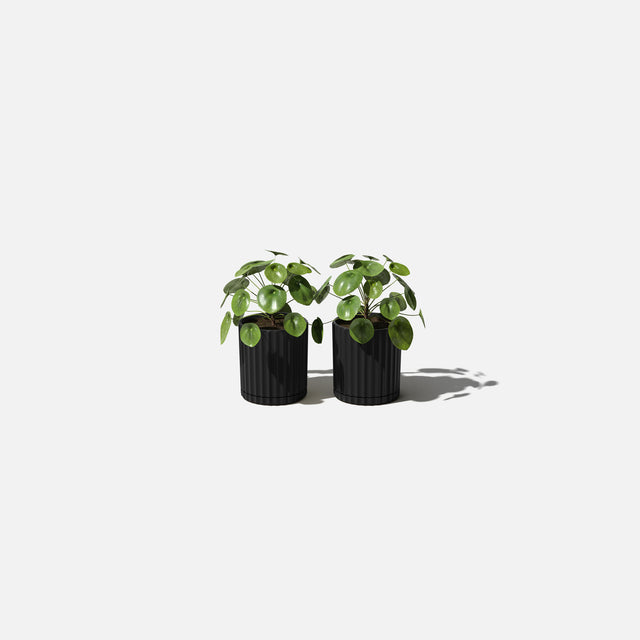
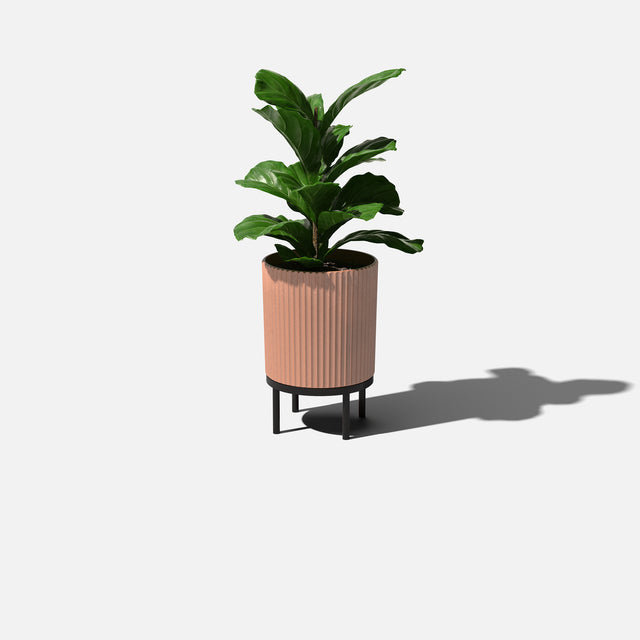
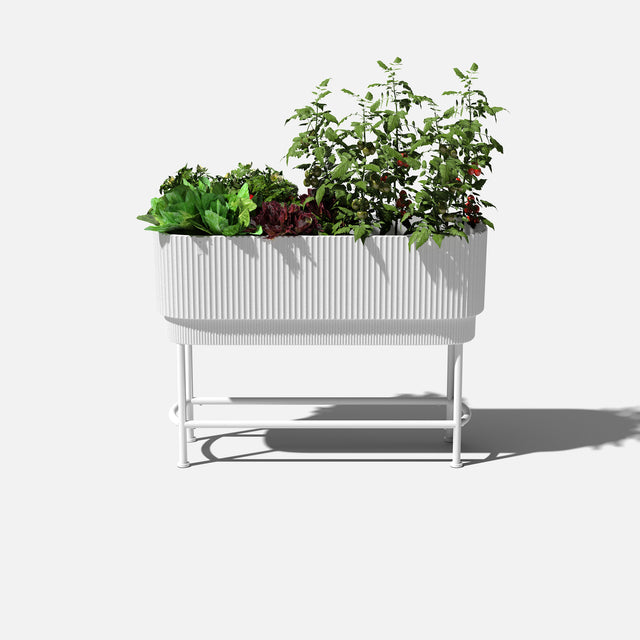
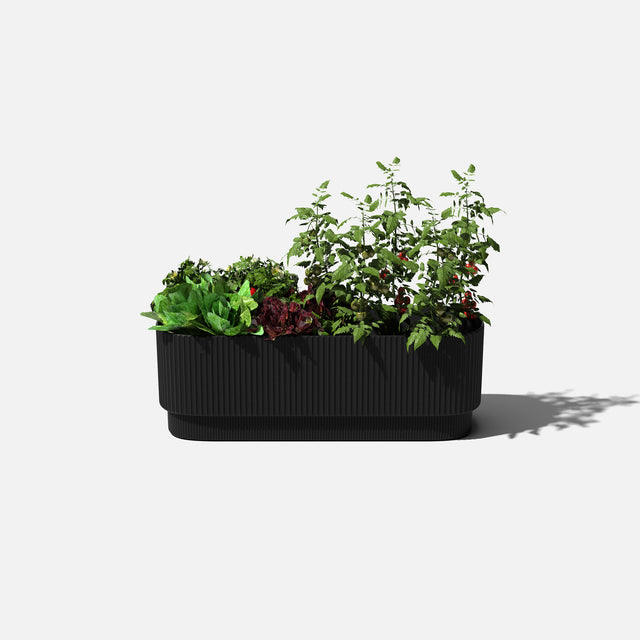
diy tropical arrangement
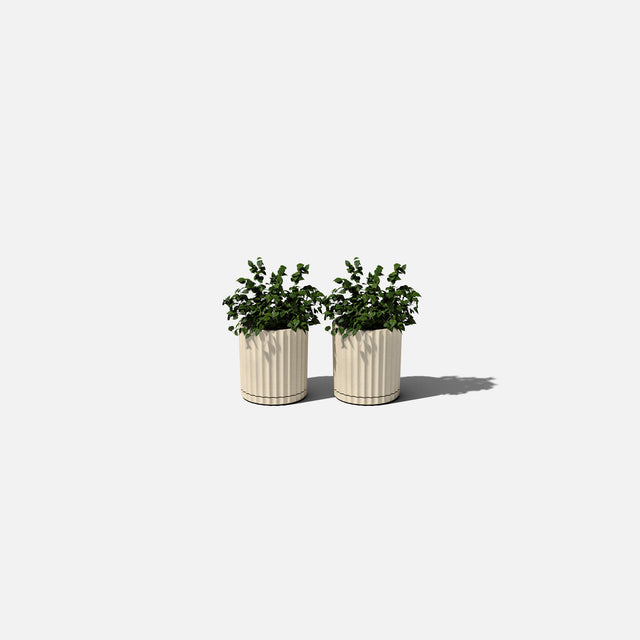
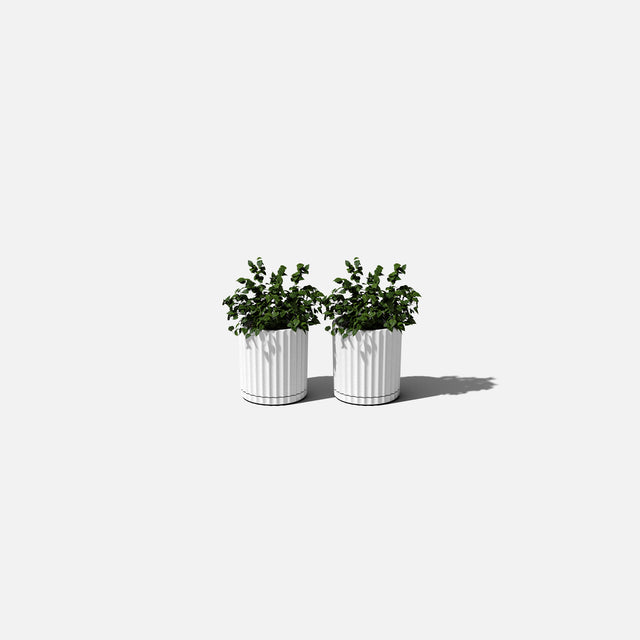
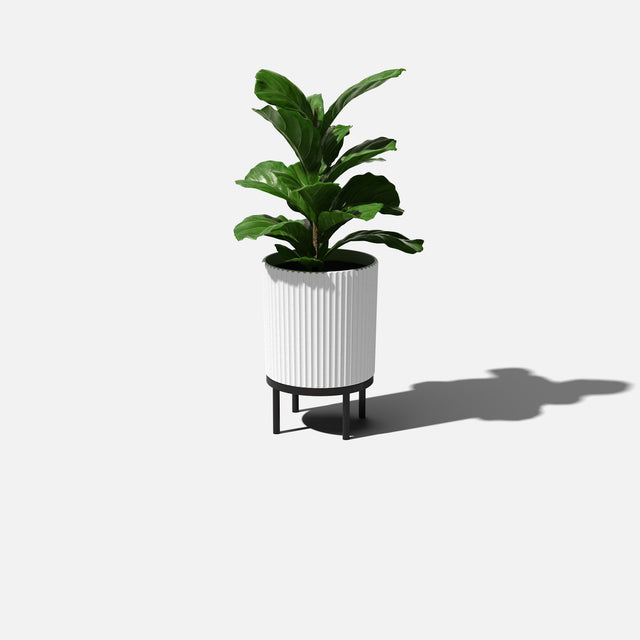
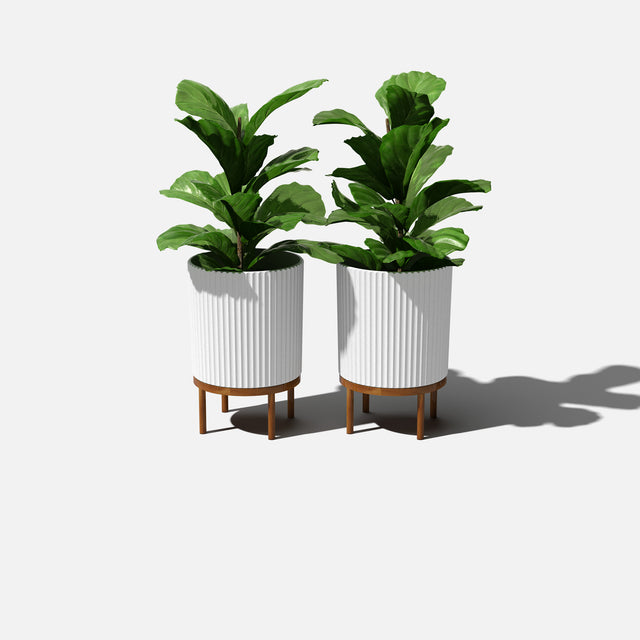
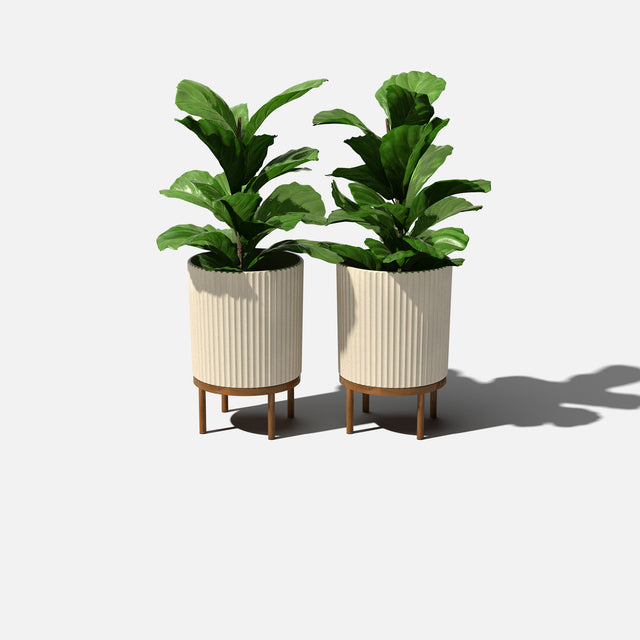
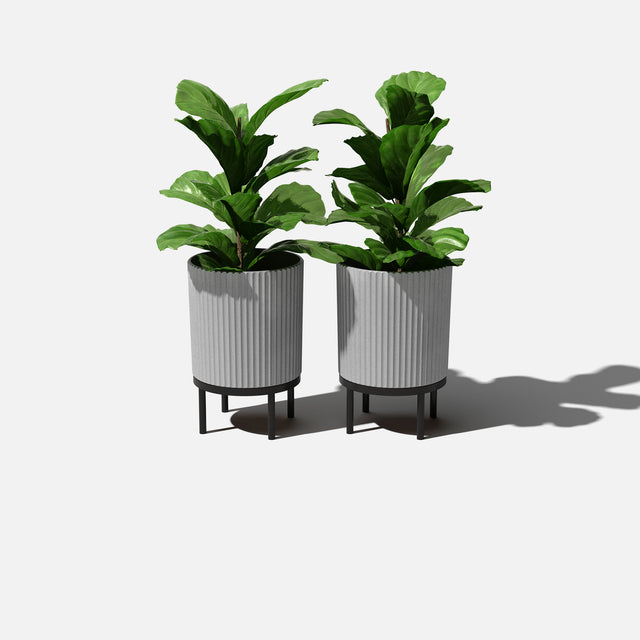
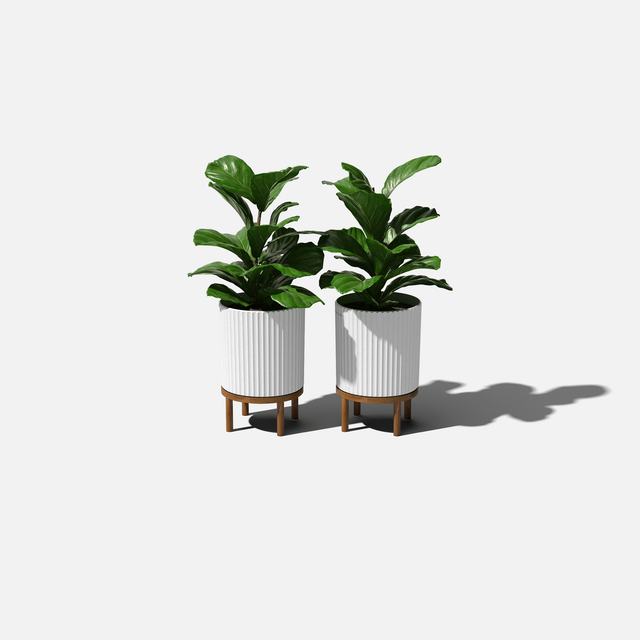
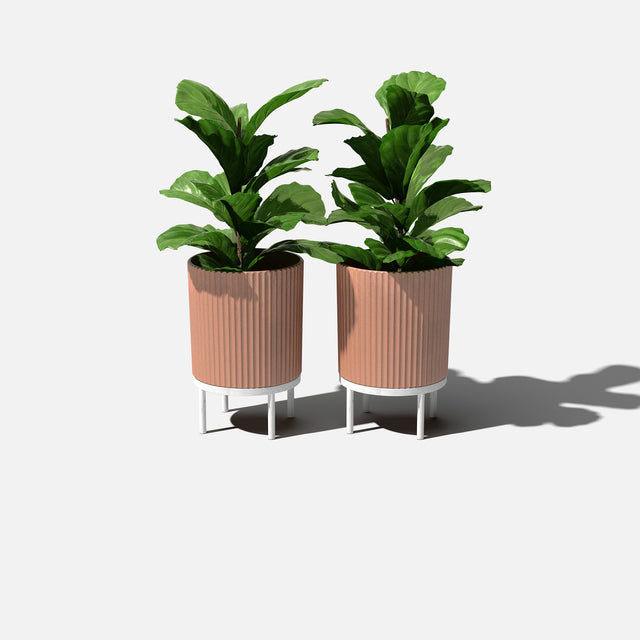
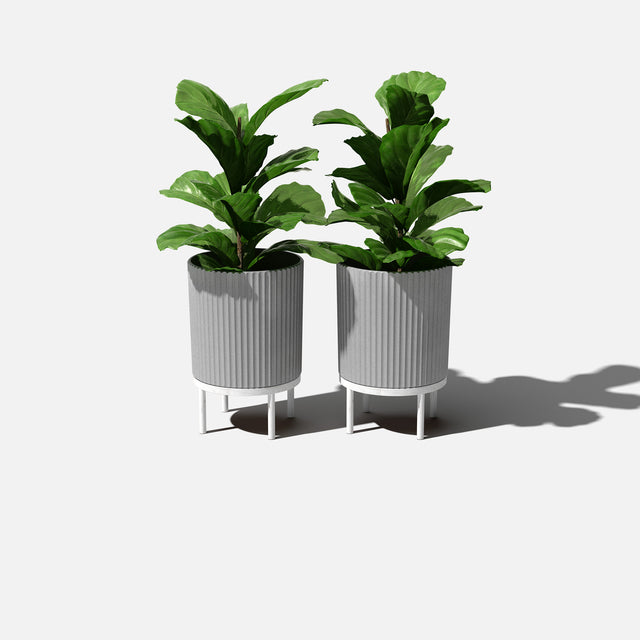
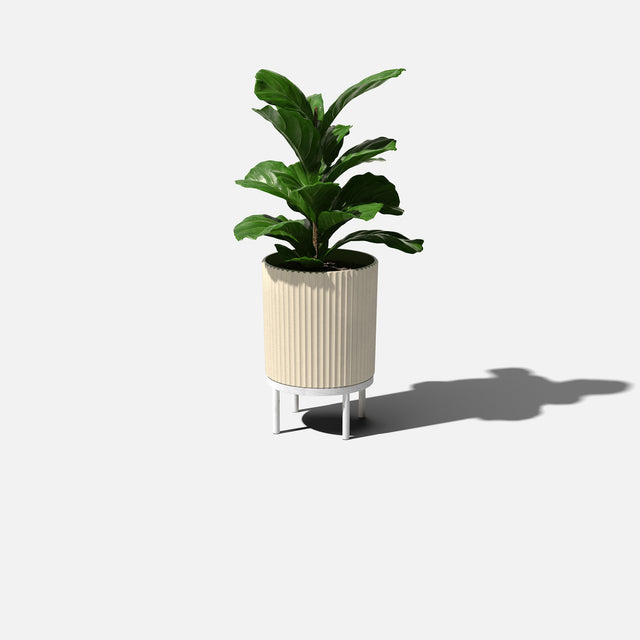
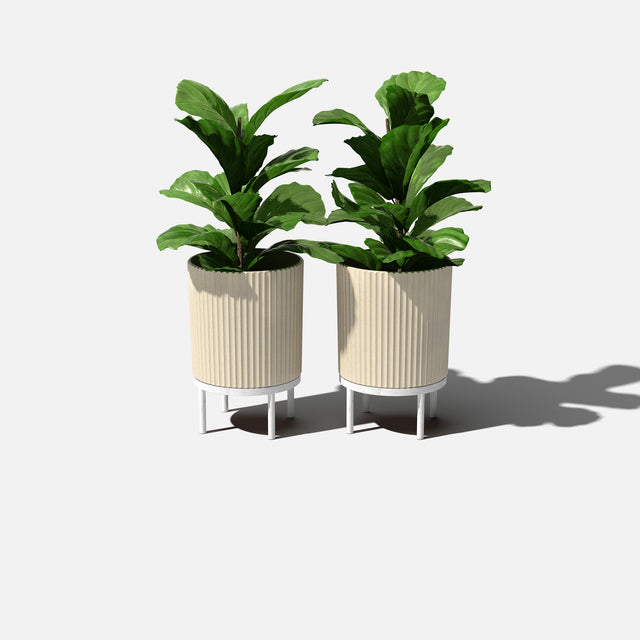
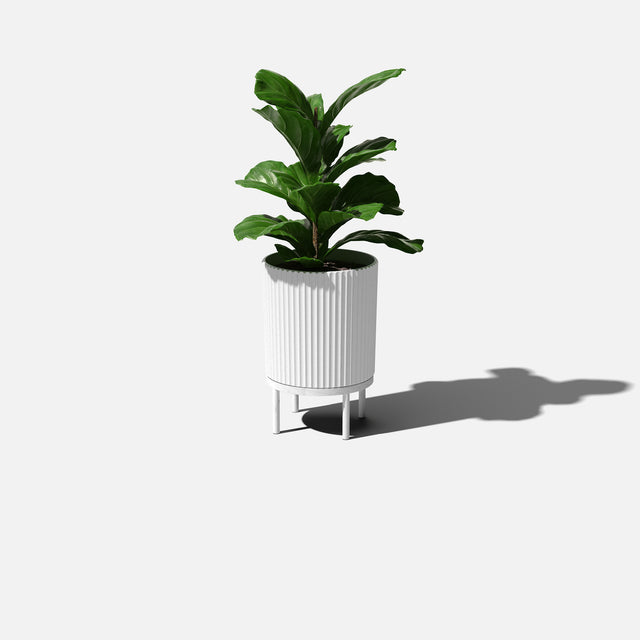
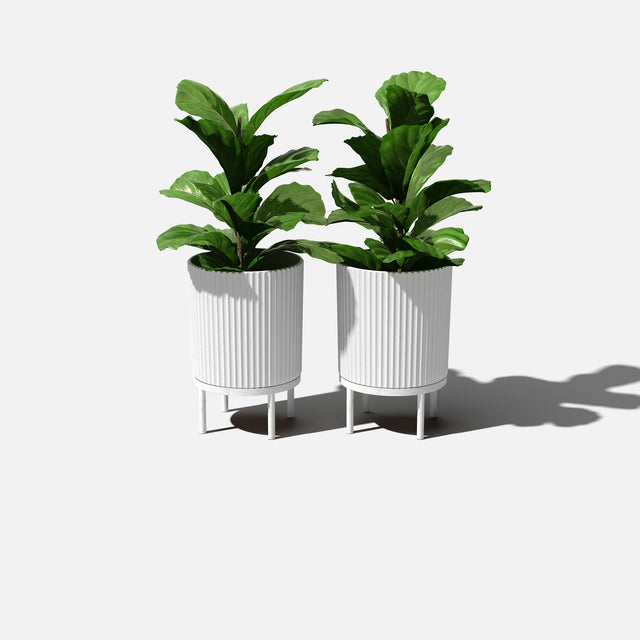
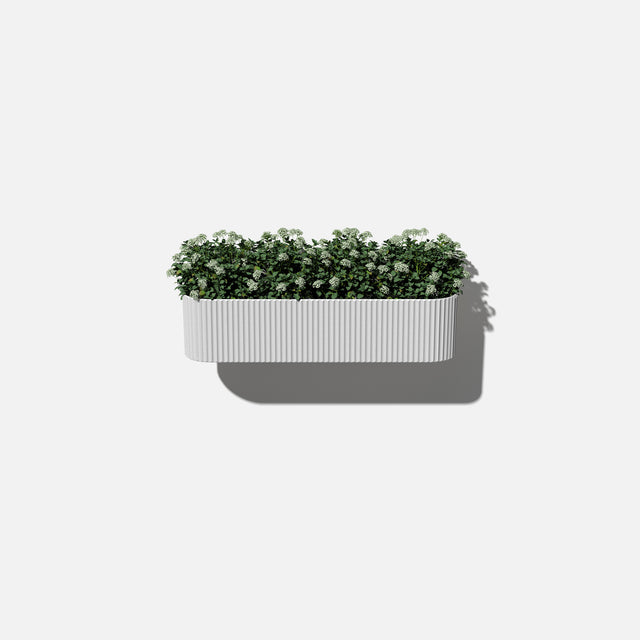
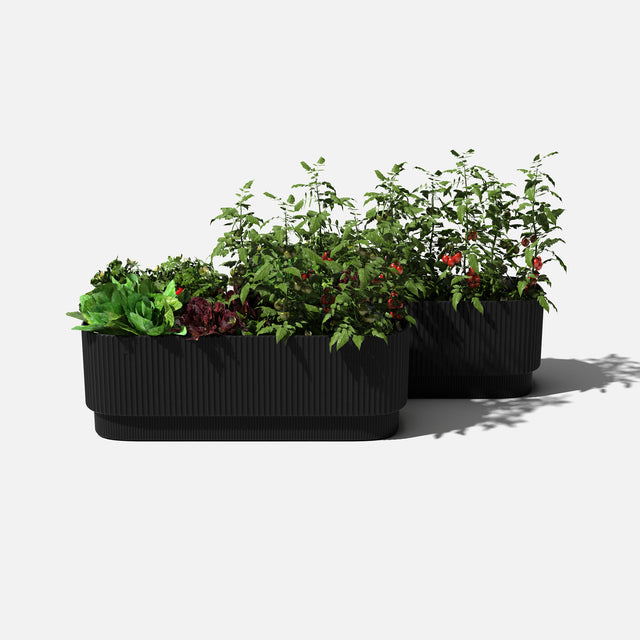
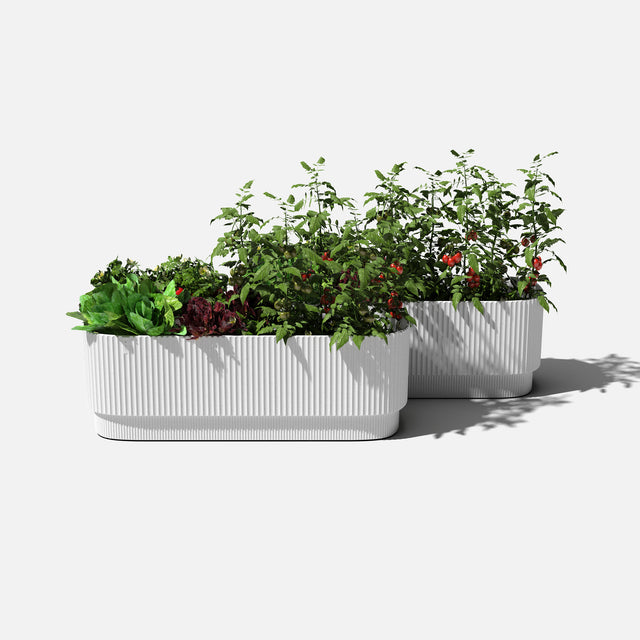
Say no to boring easy houseplants and yes to tropical arrangements featuring our Demi Planter


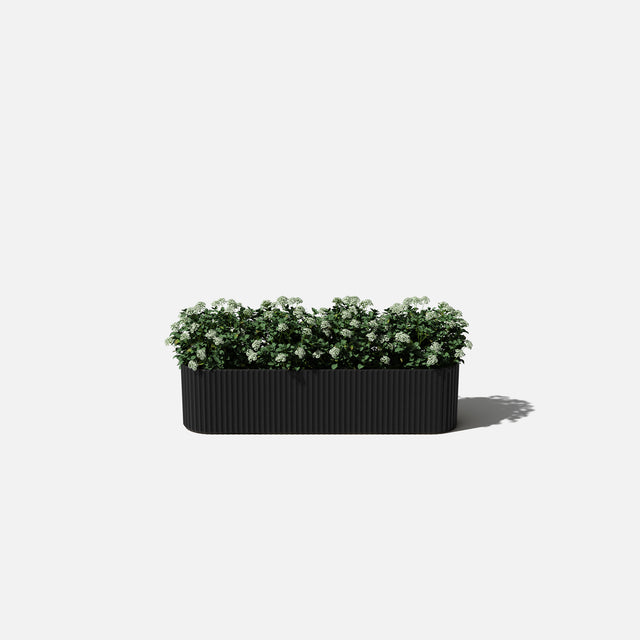
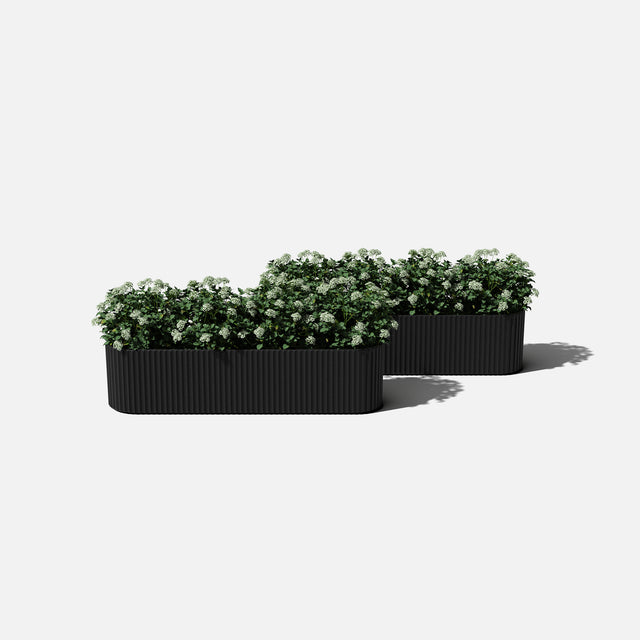
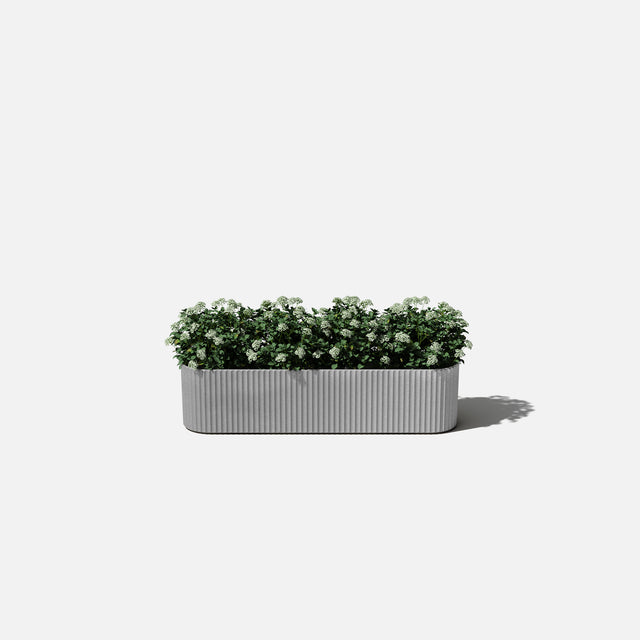
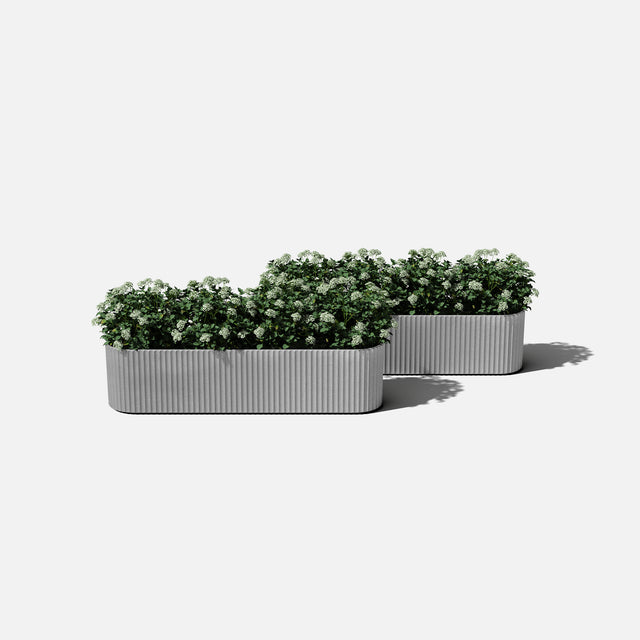
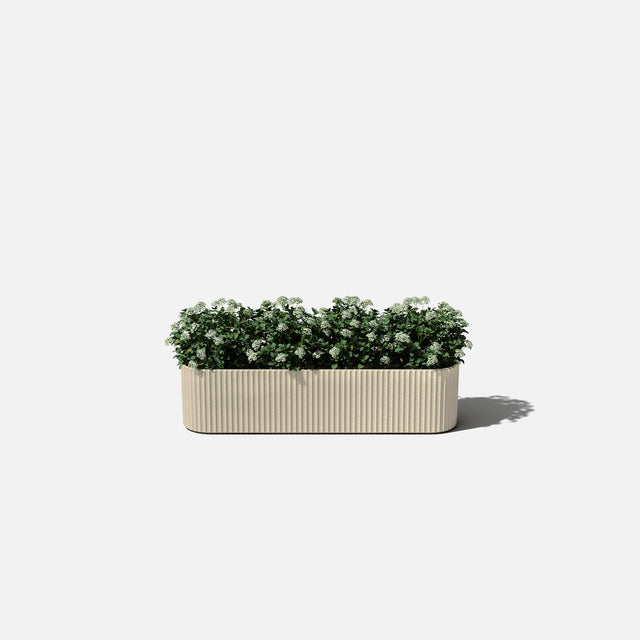
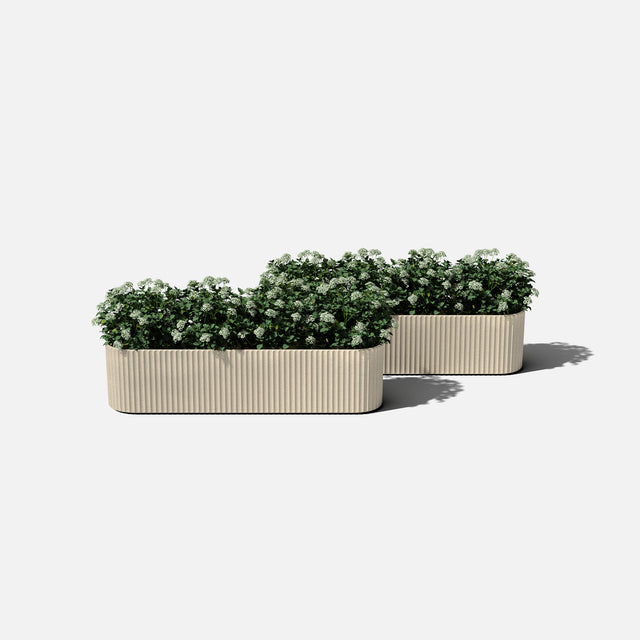
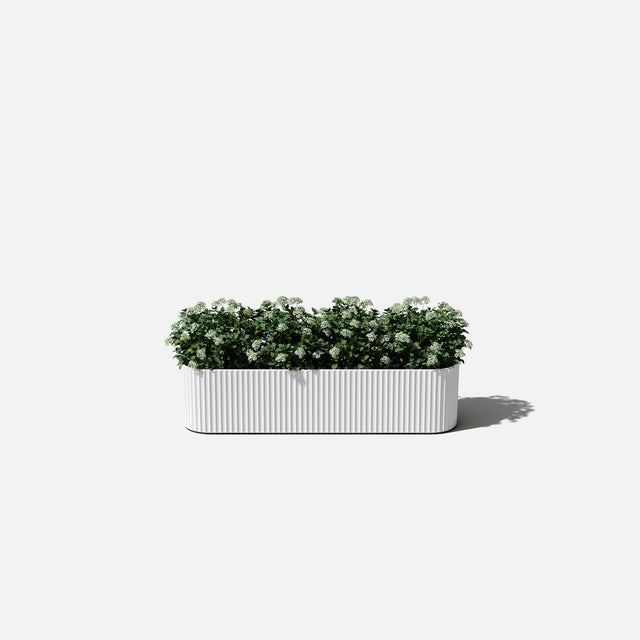
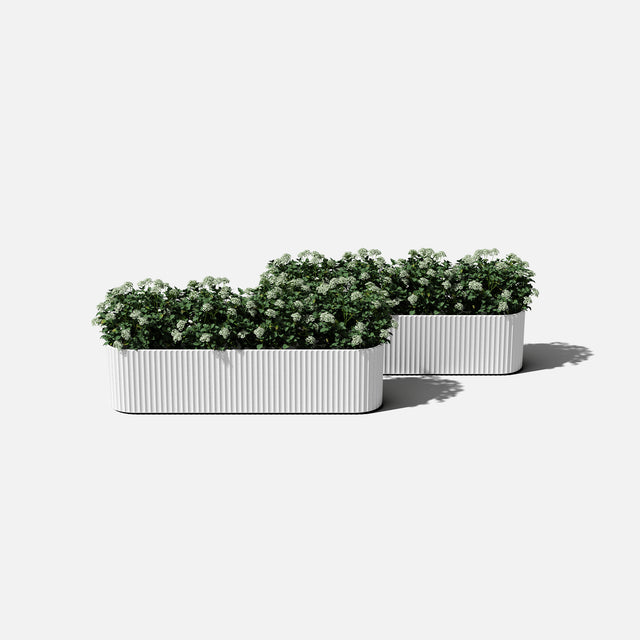
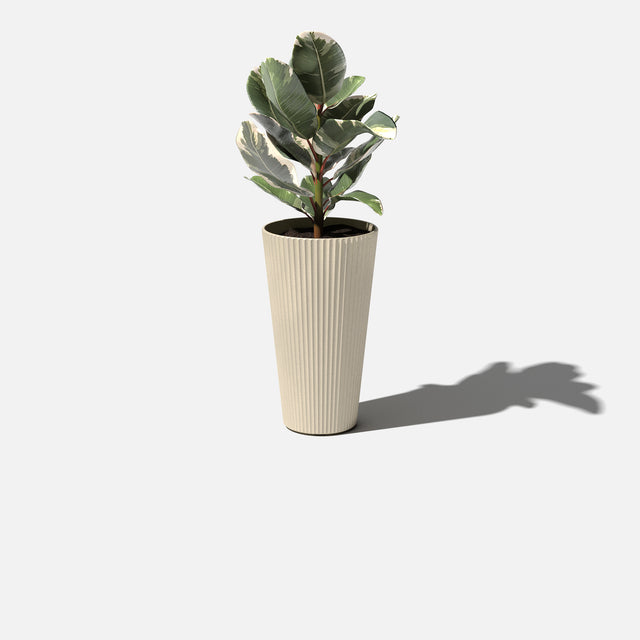
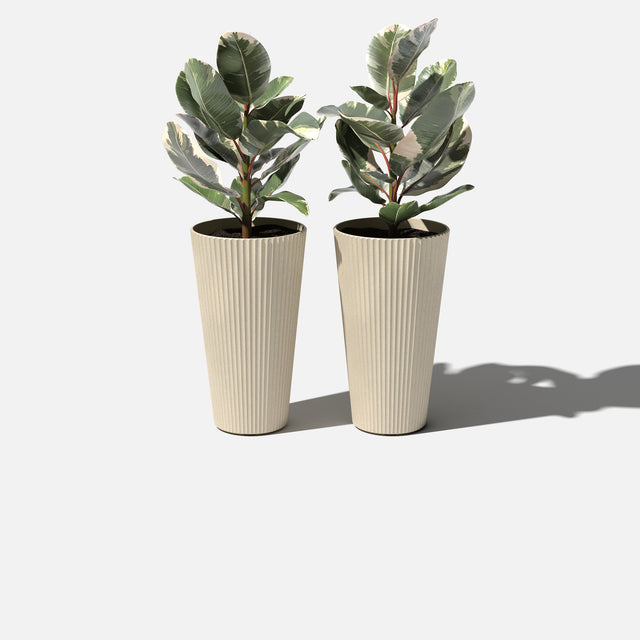
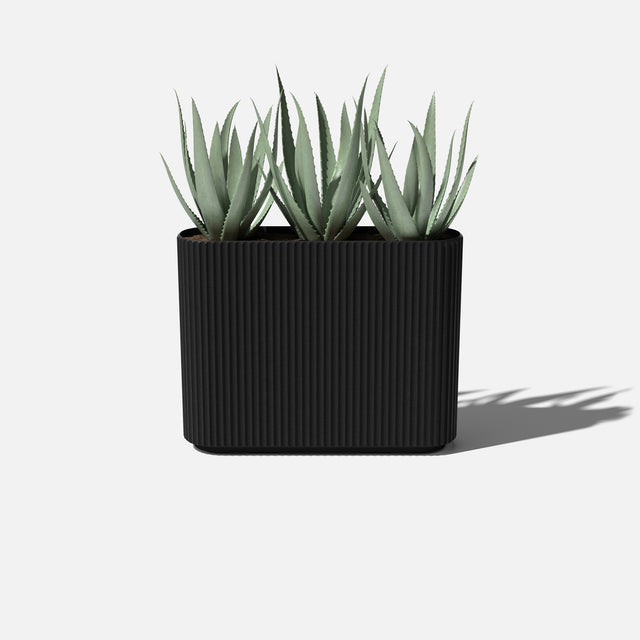
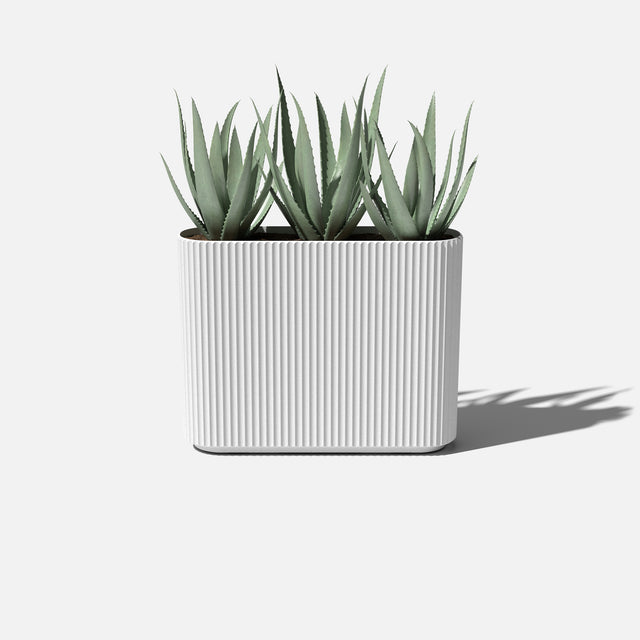
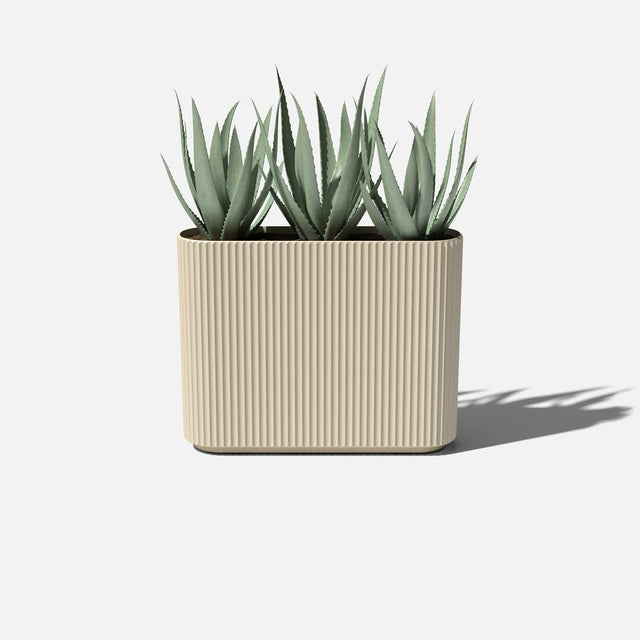
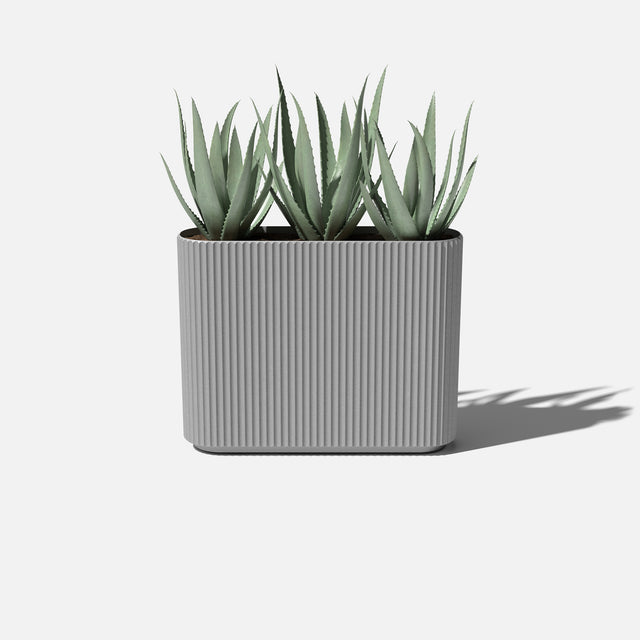
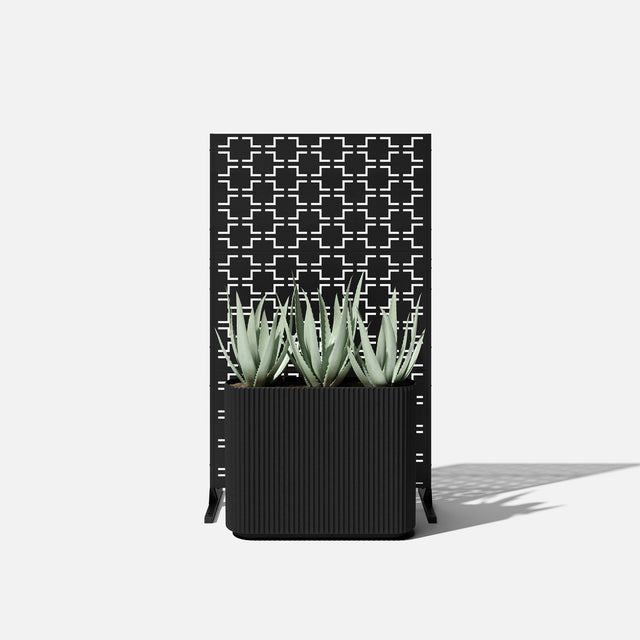
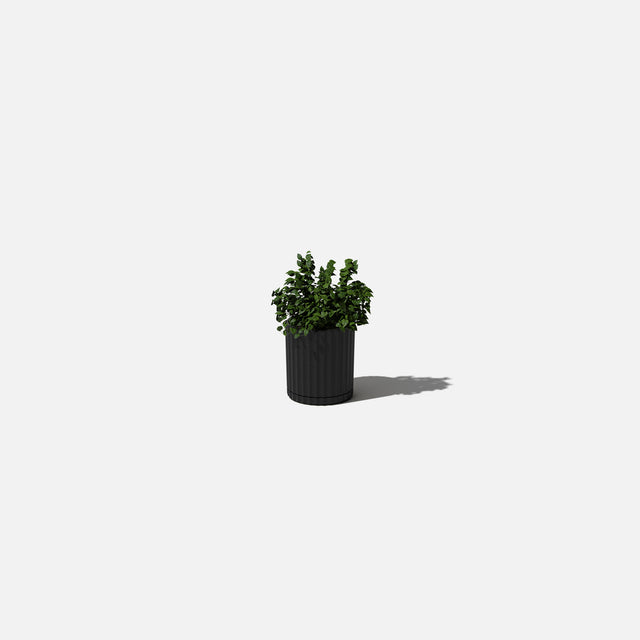
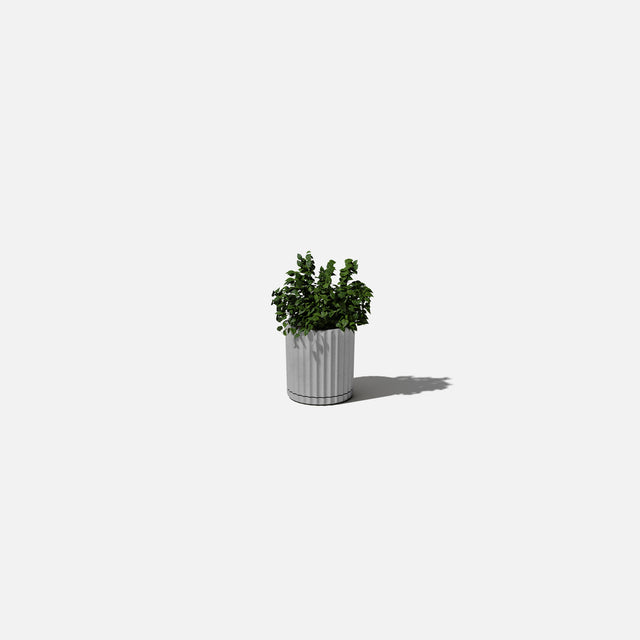
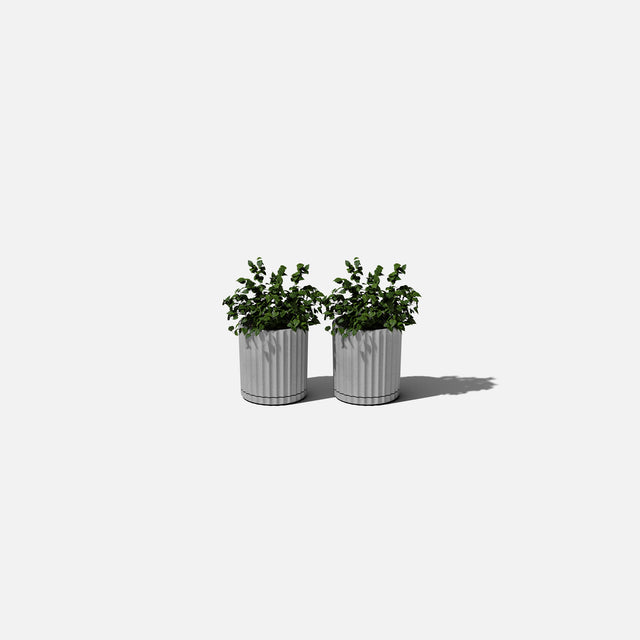
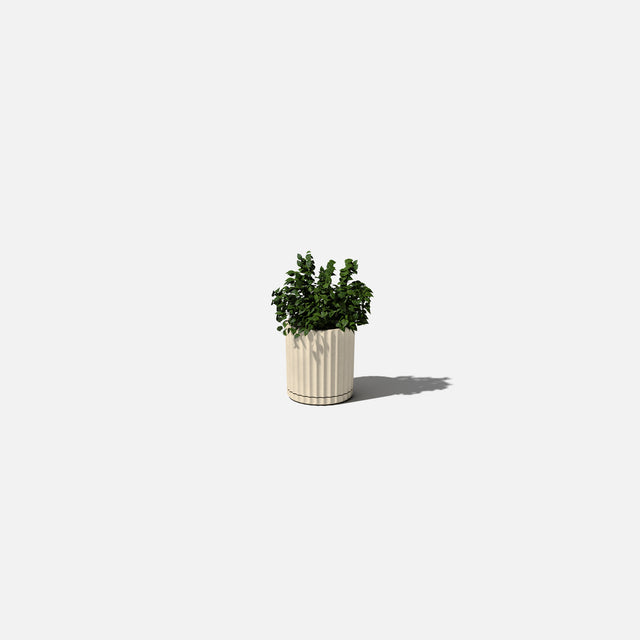
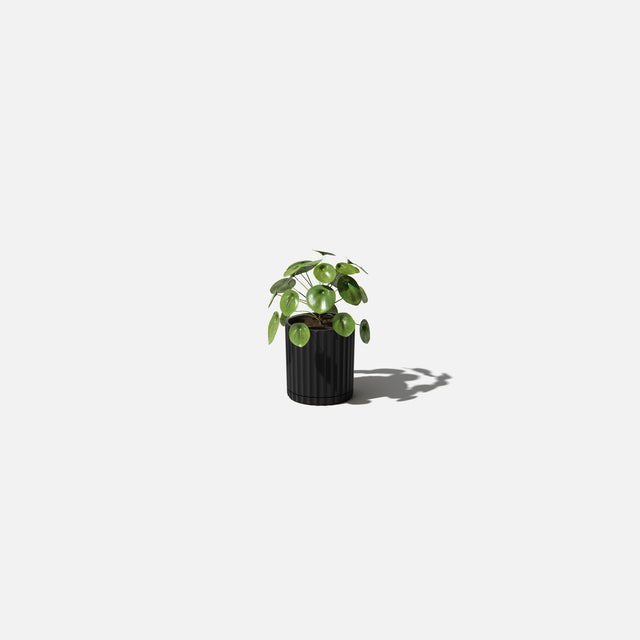
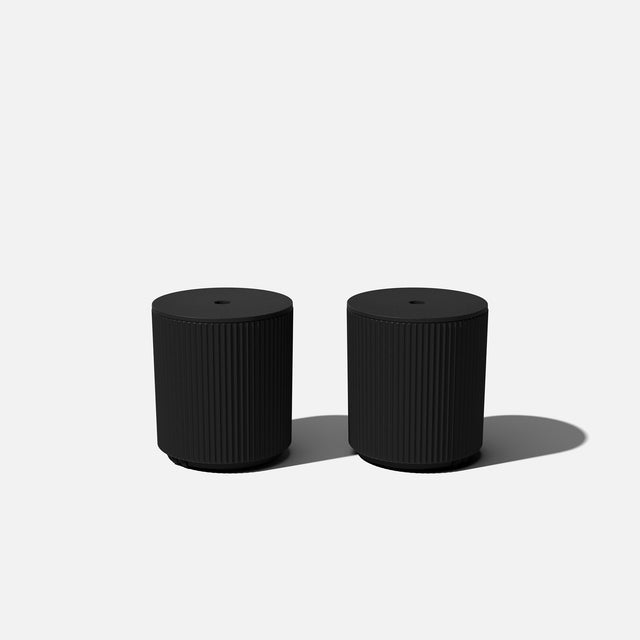
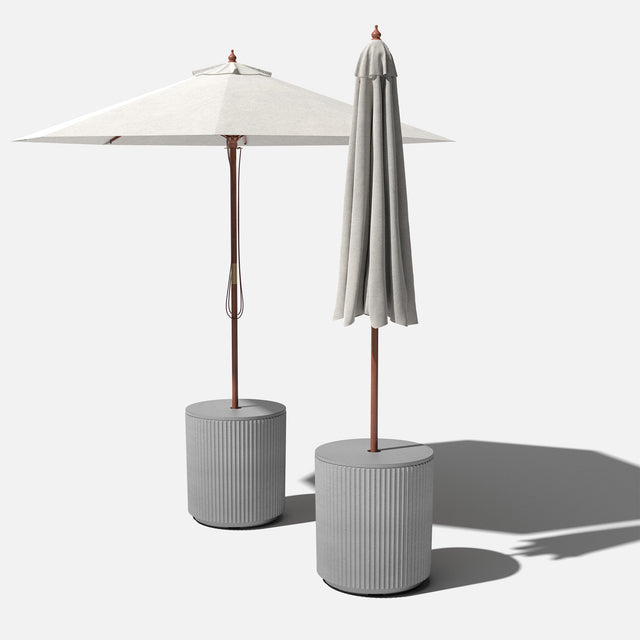
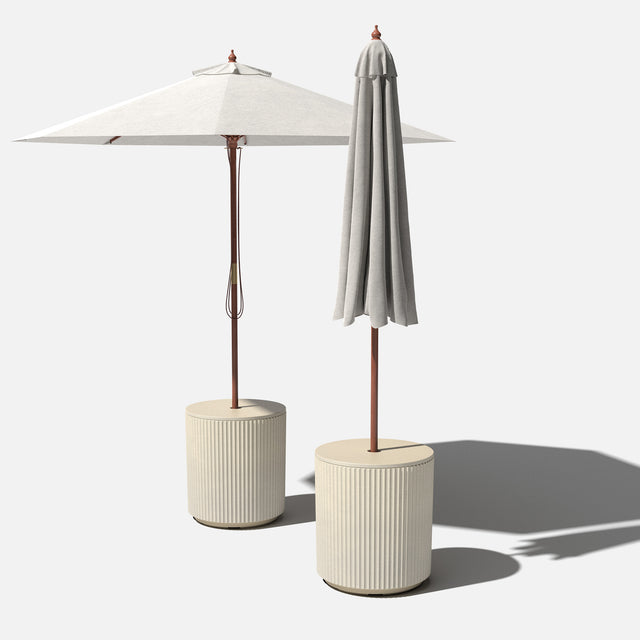
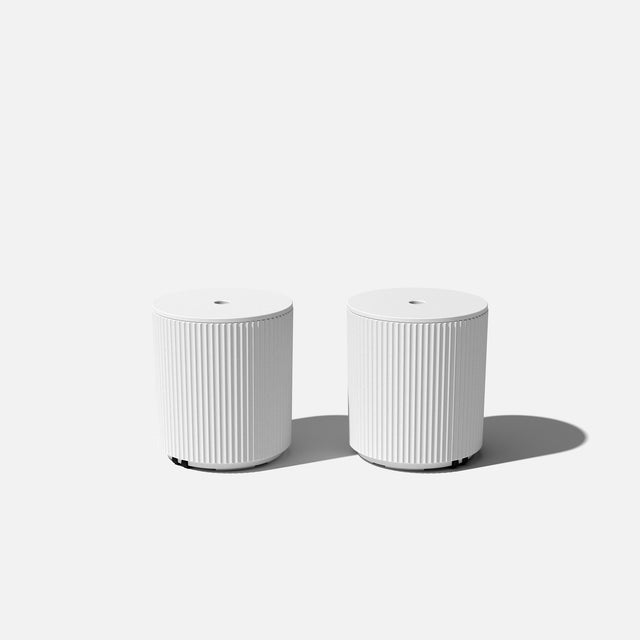
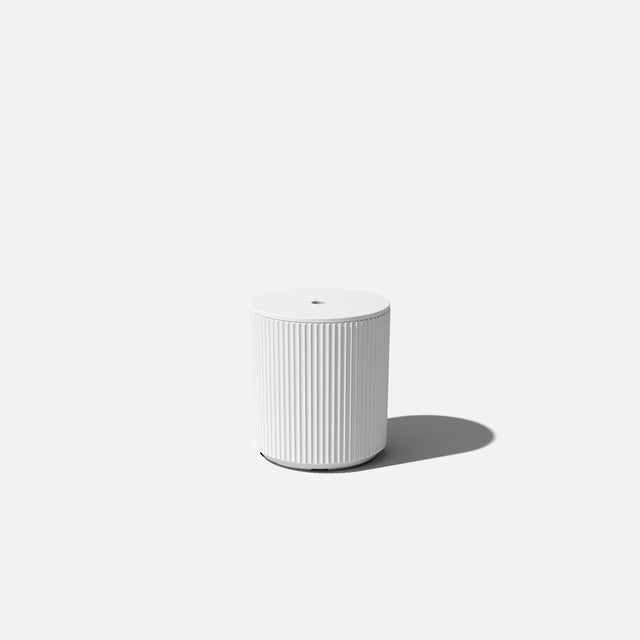
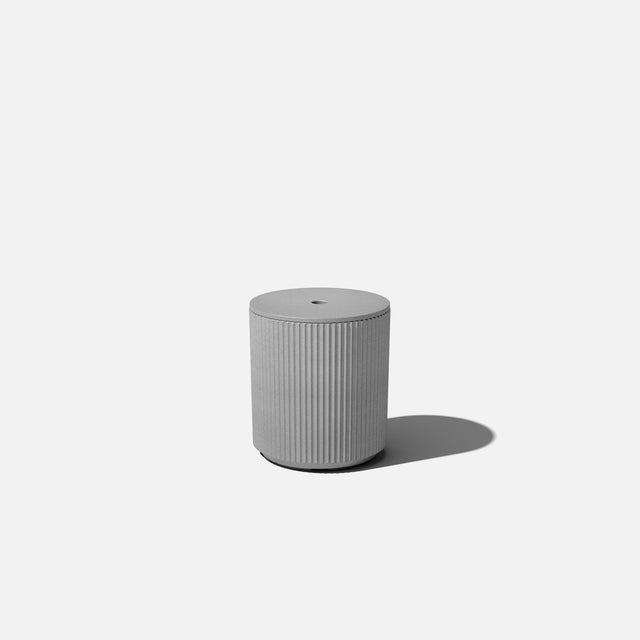
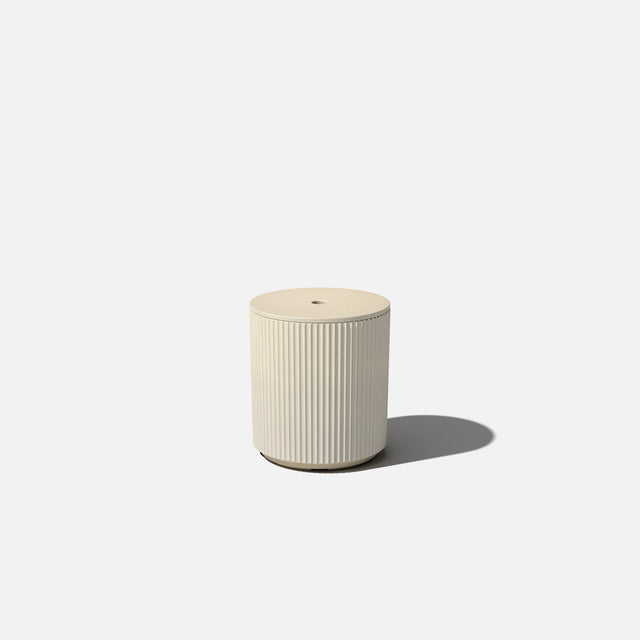
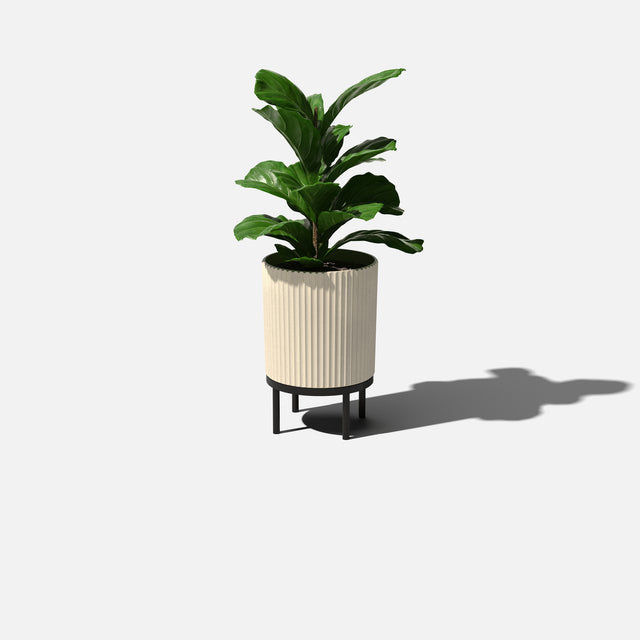
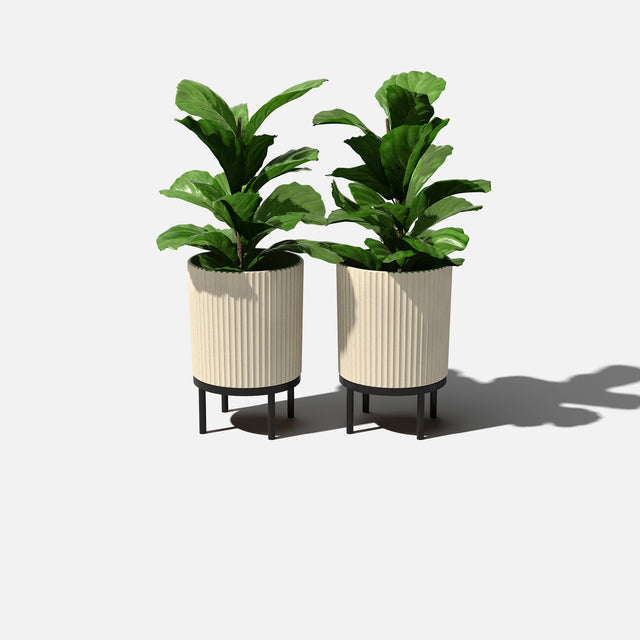
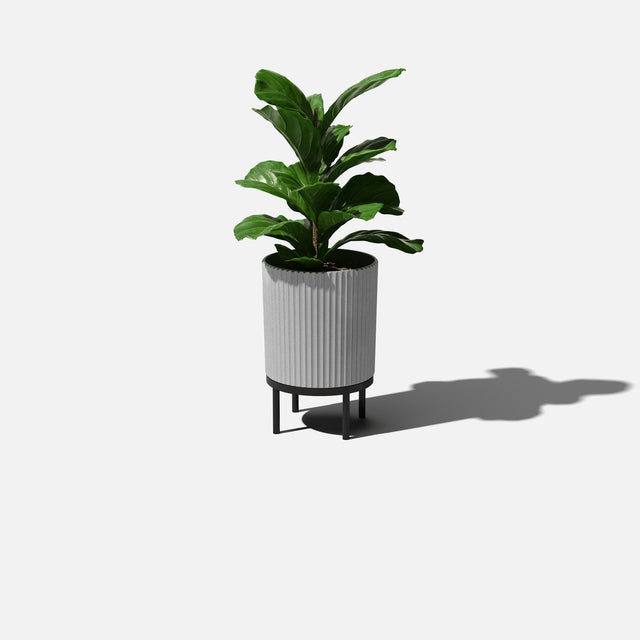
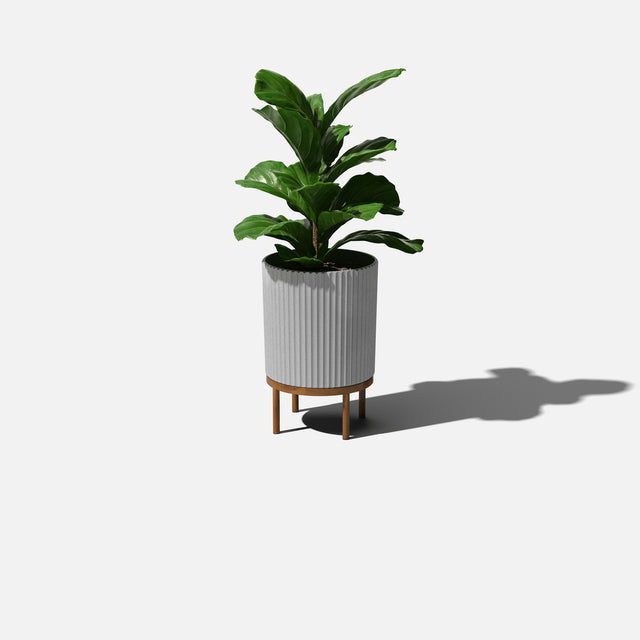
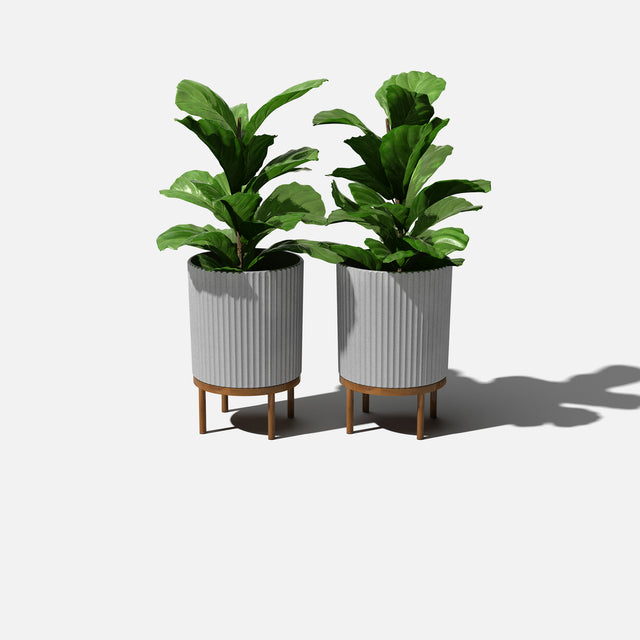
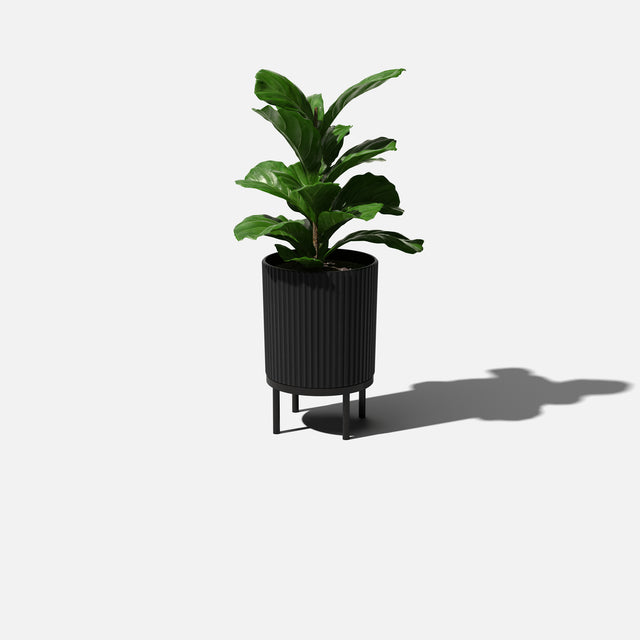
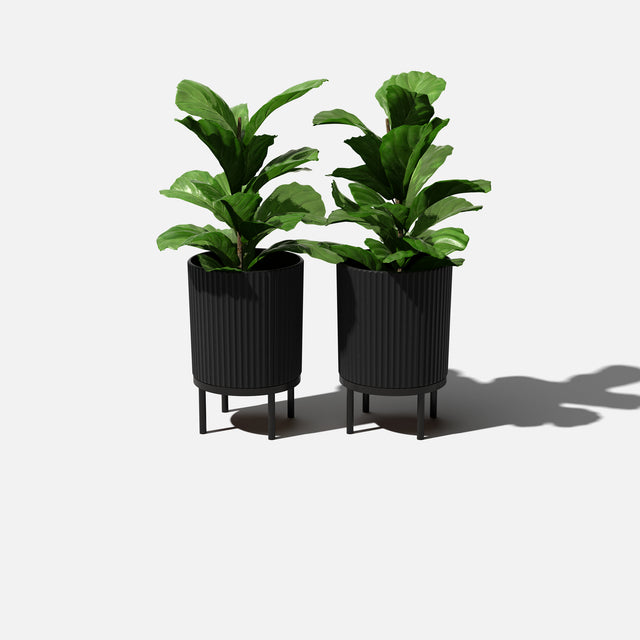
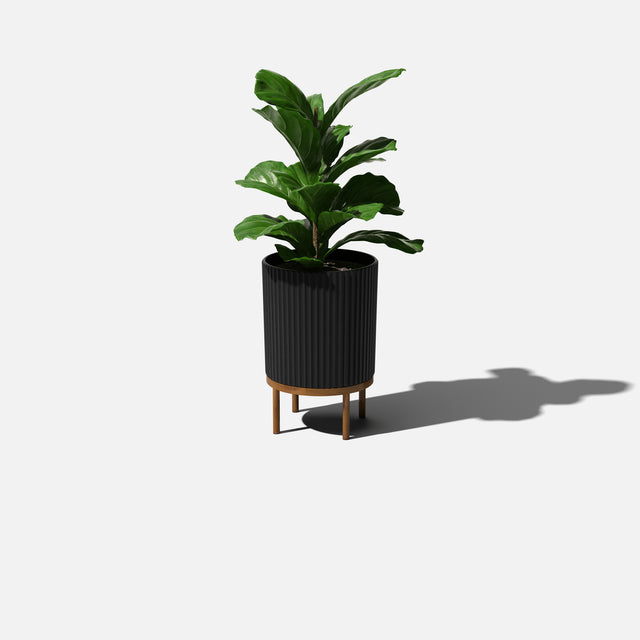
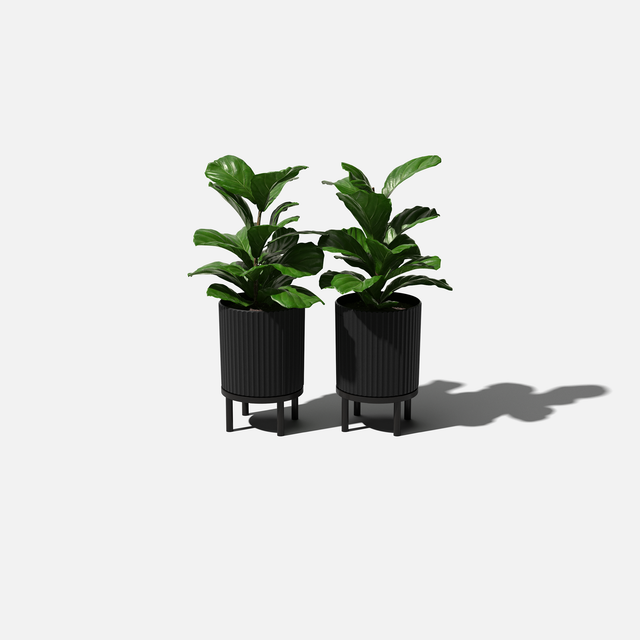
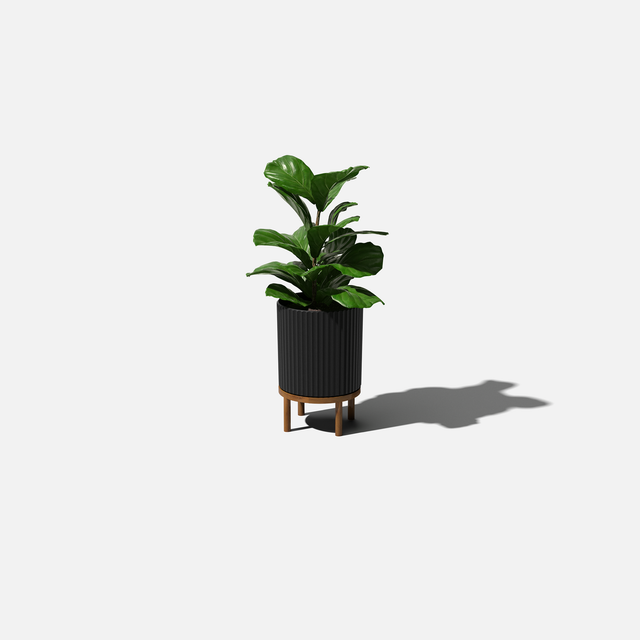
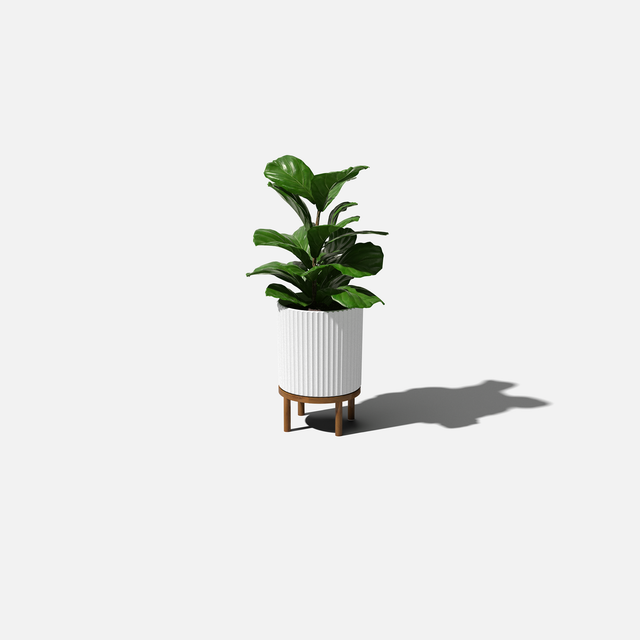
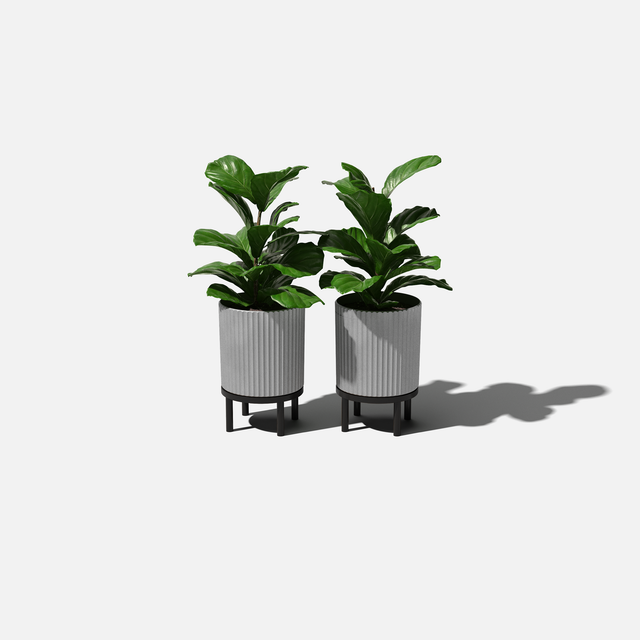
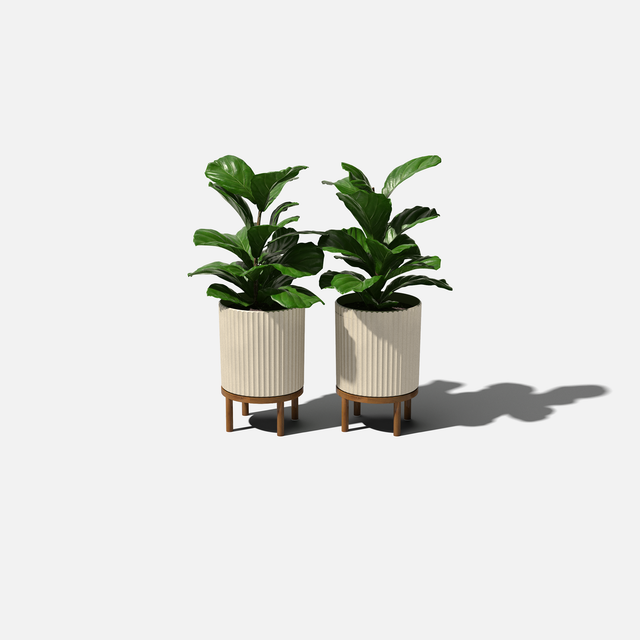
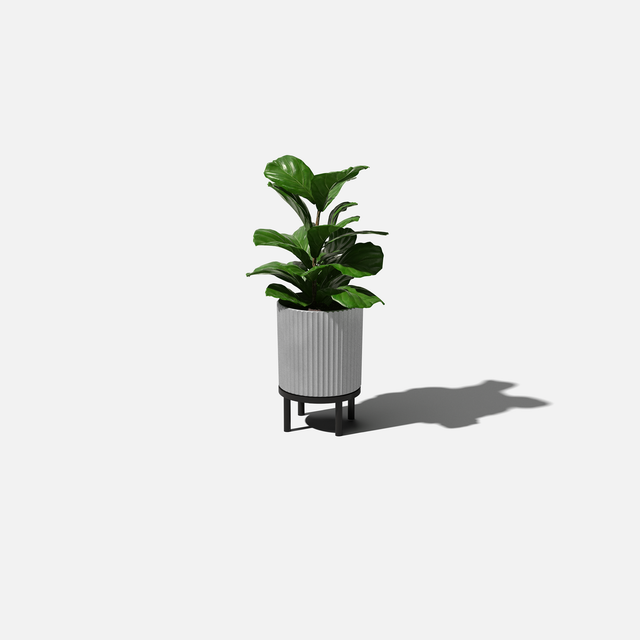
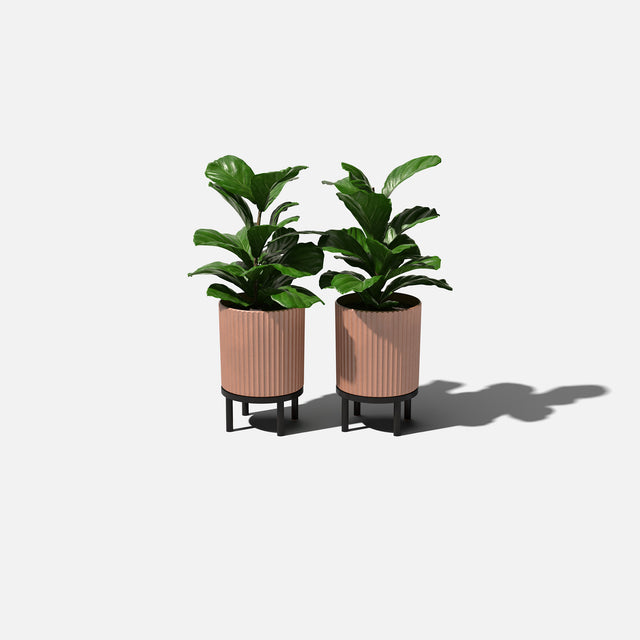
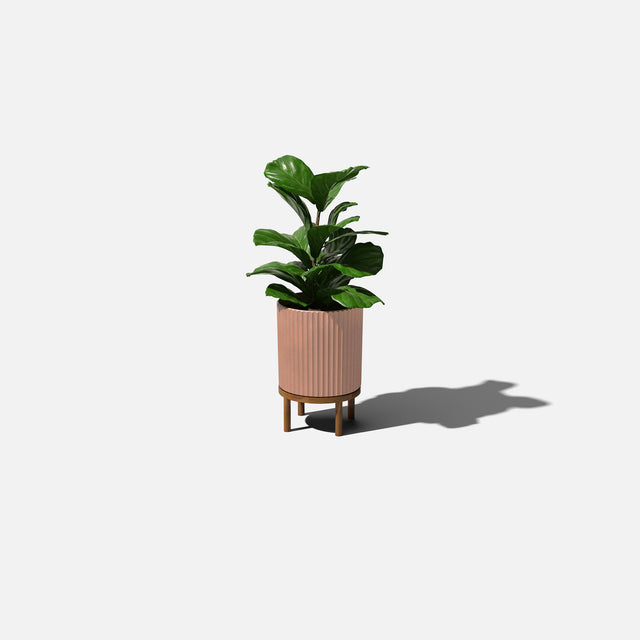
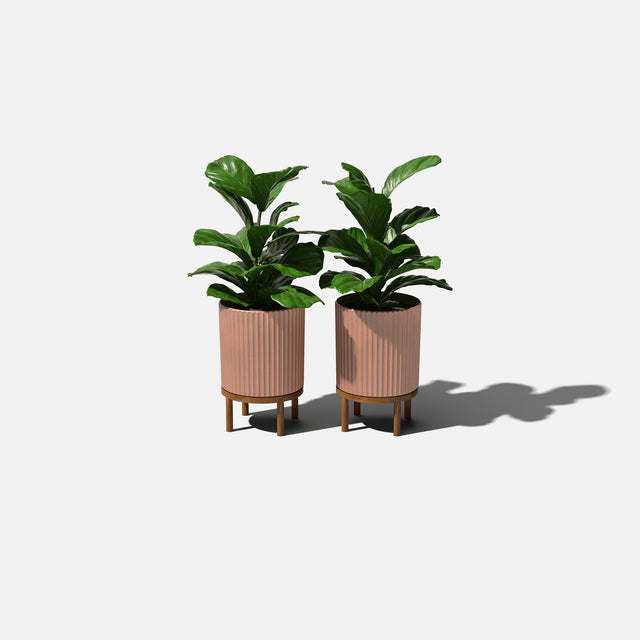
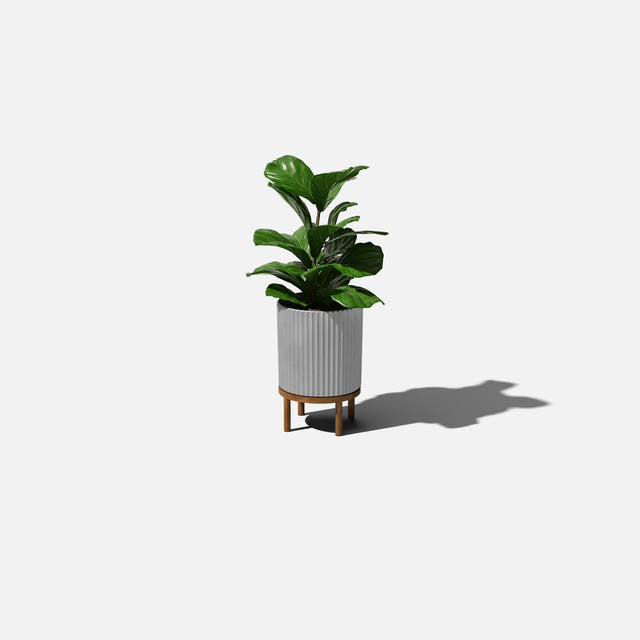
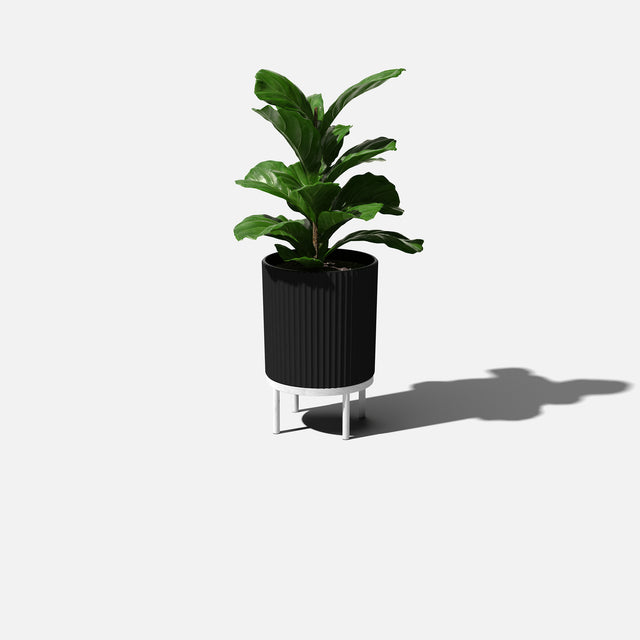
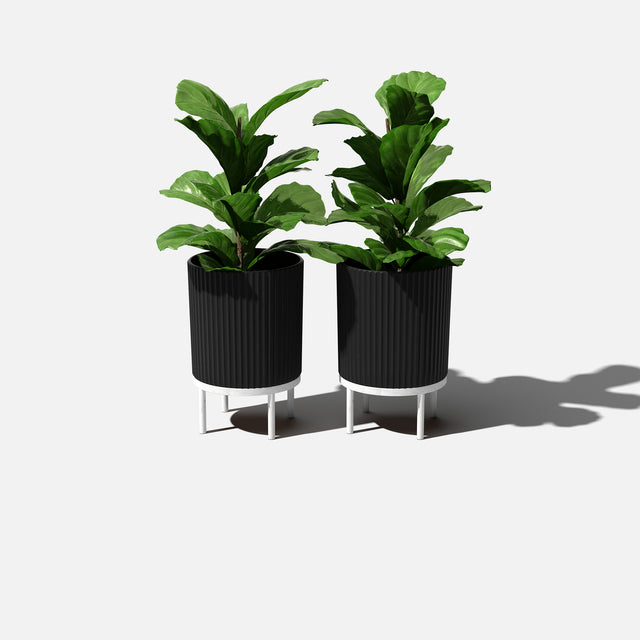
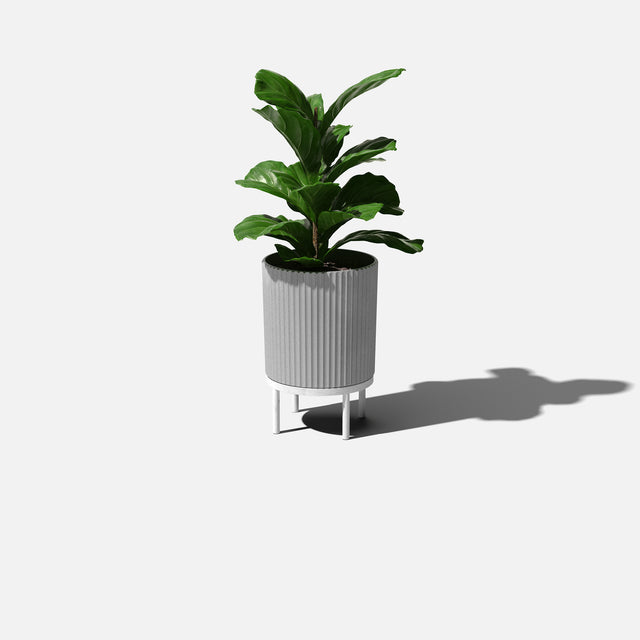
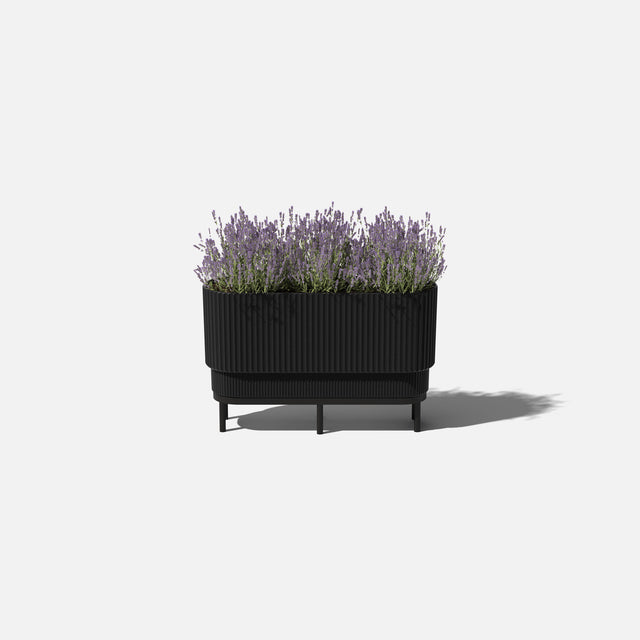
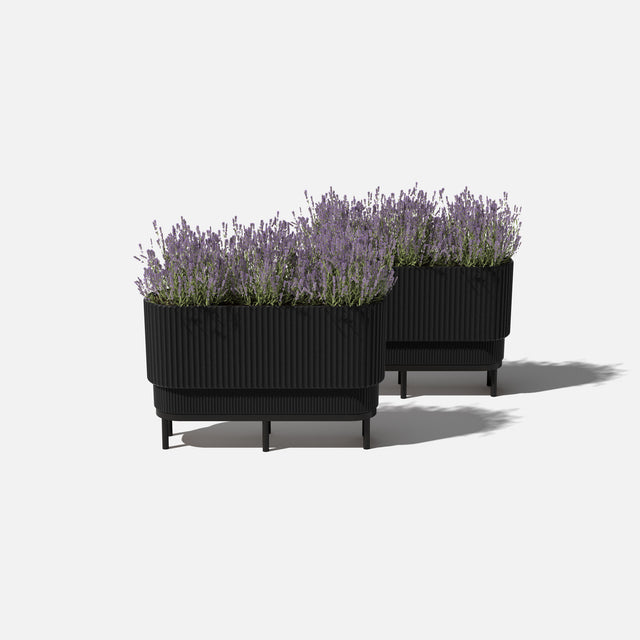
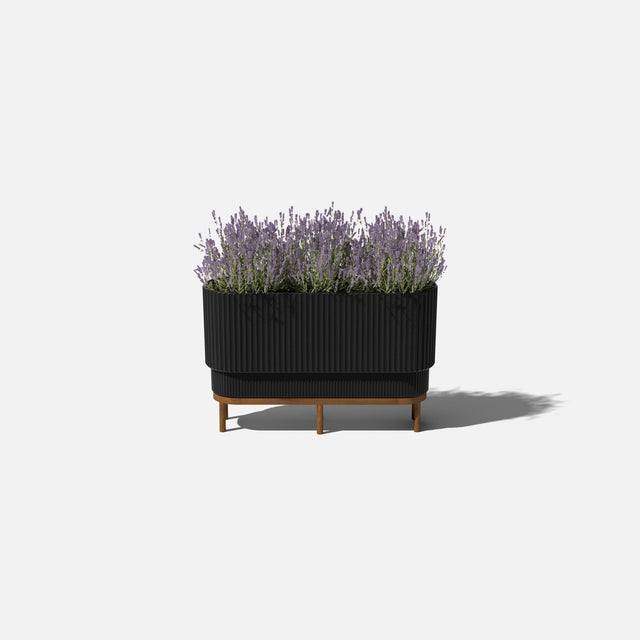
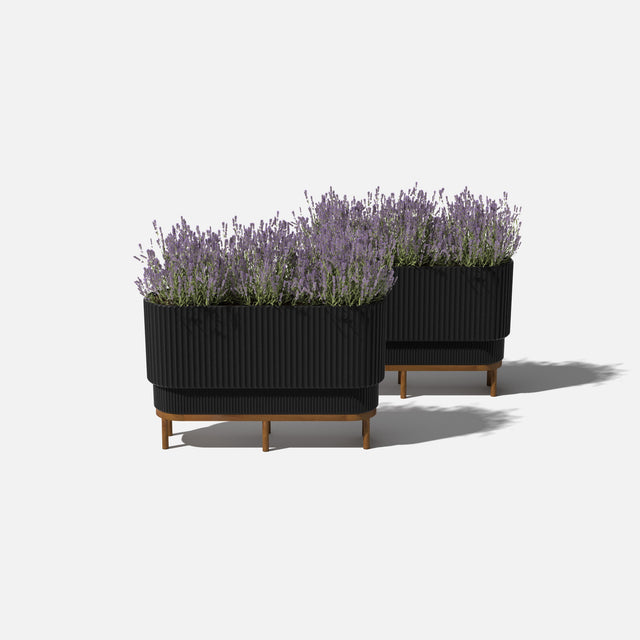
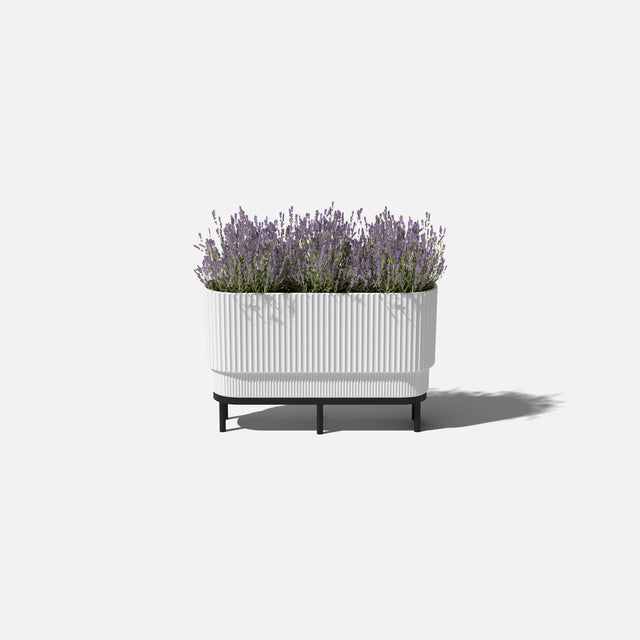
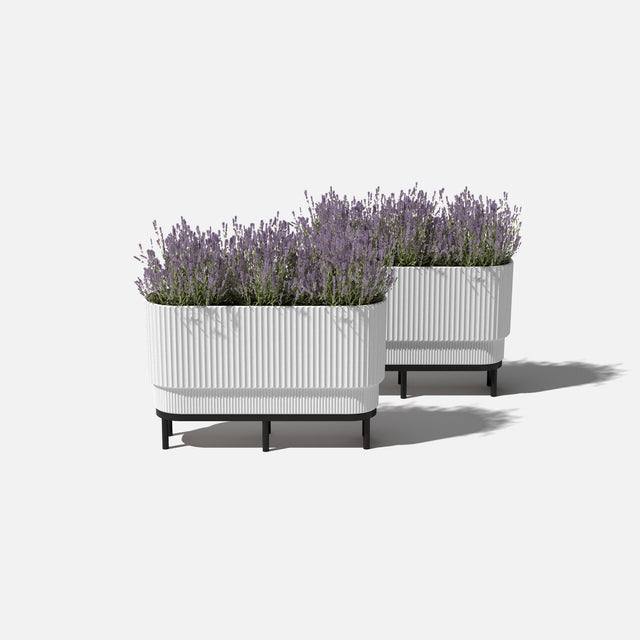
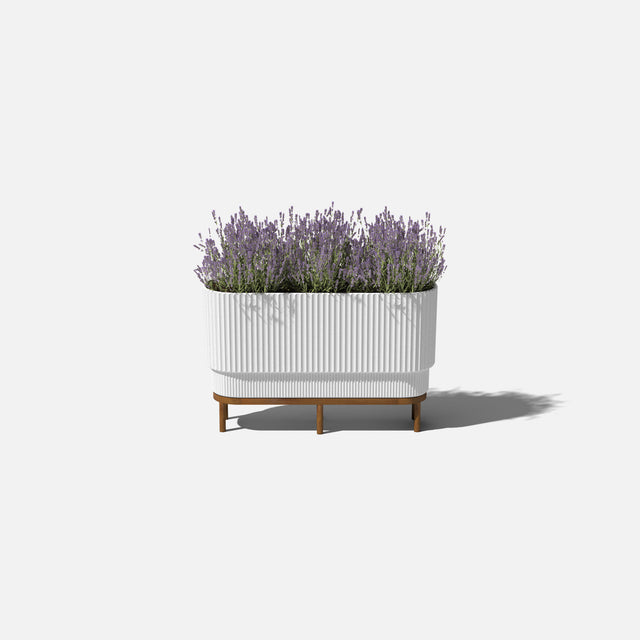
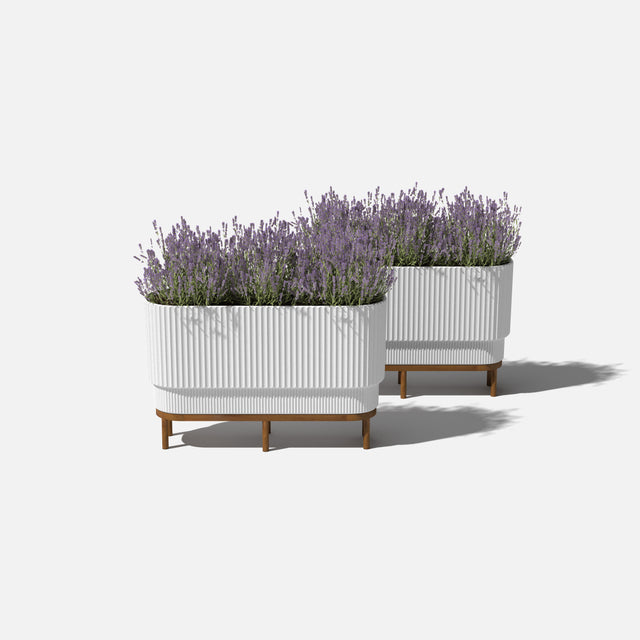
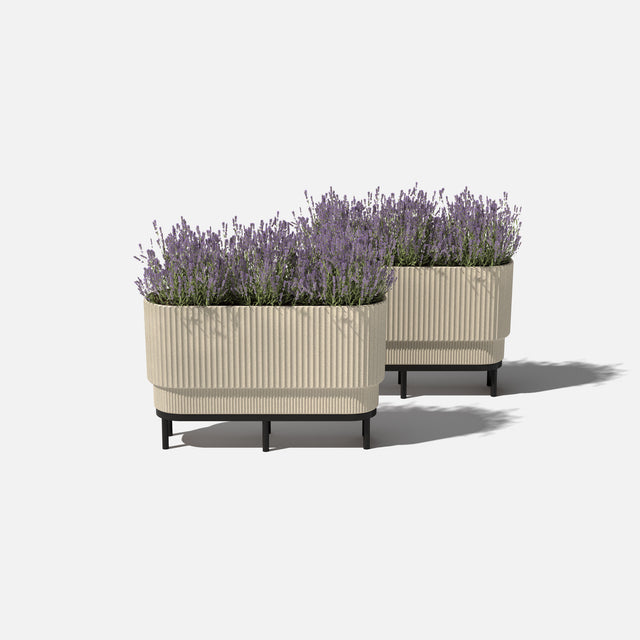
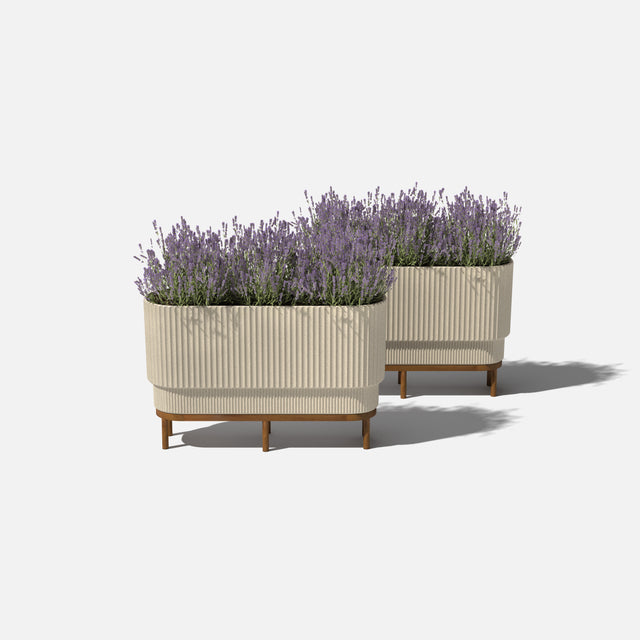
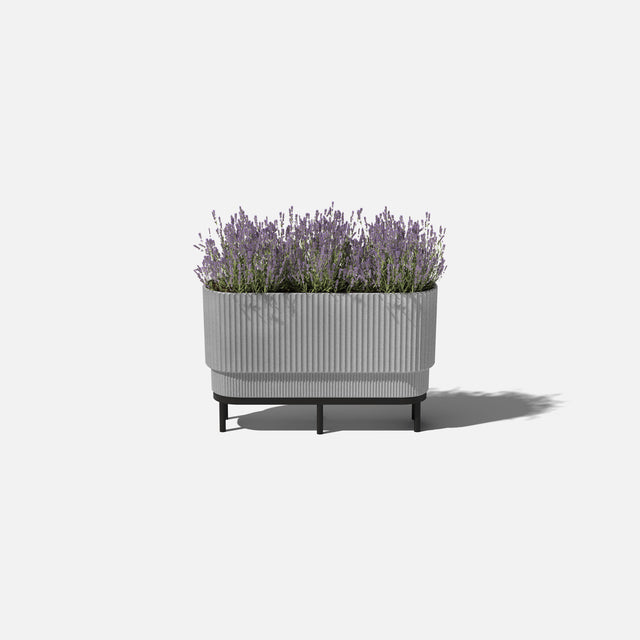
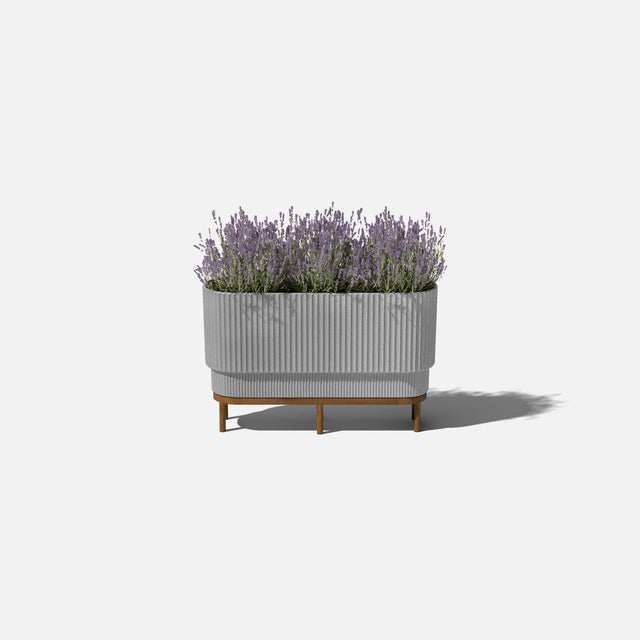
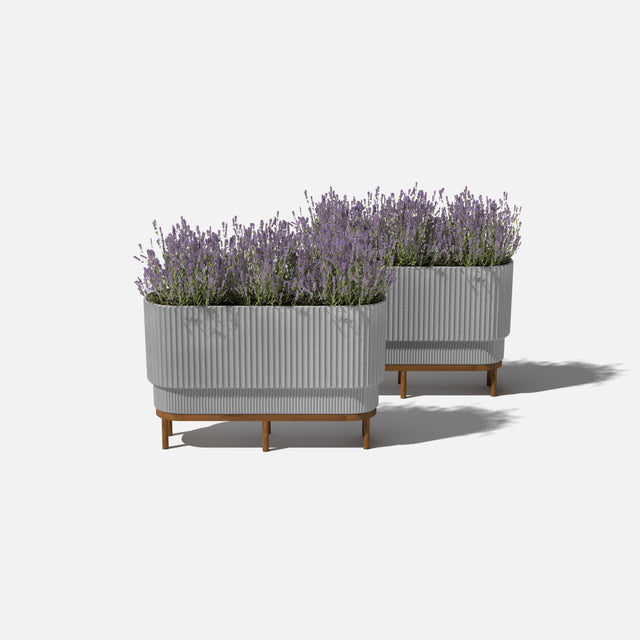
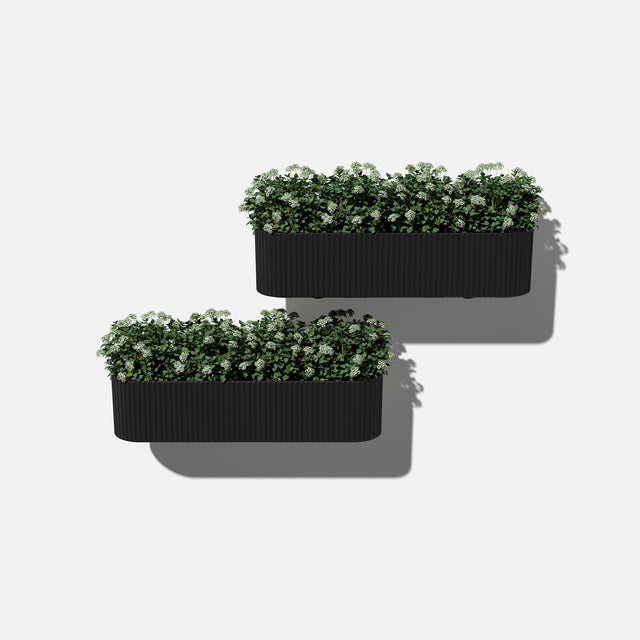
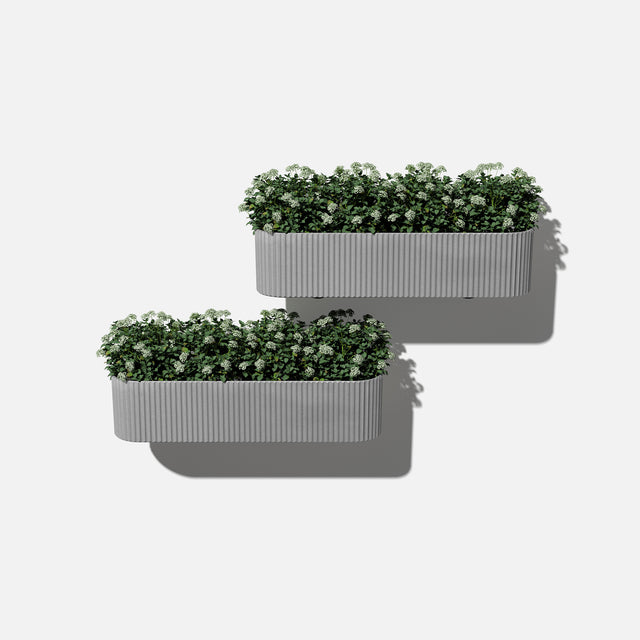
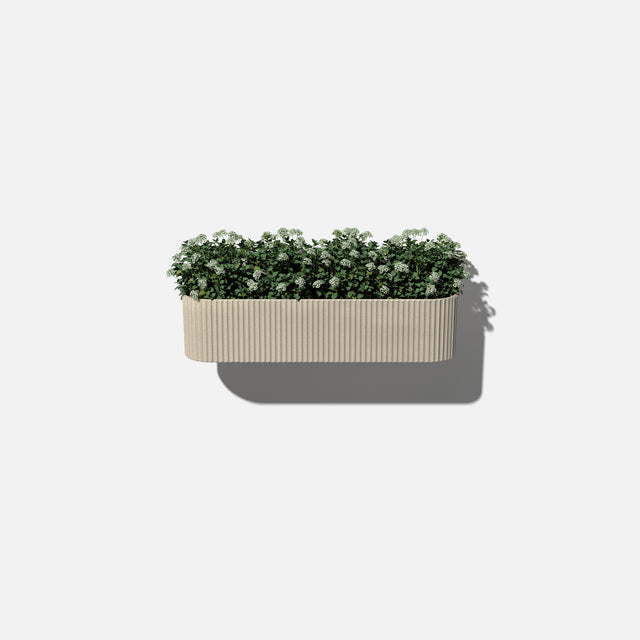
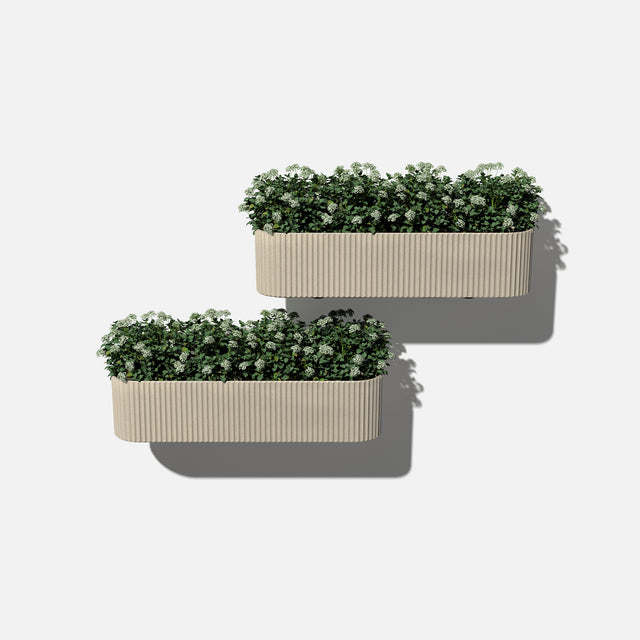
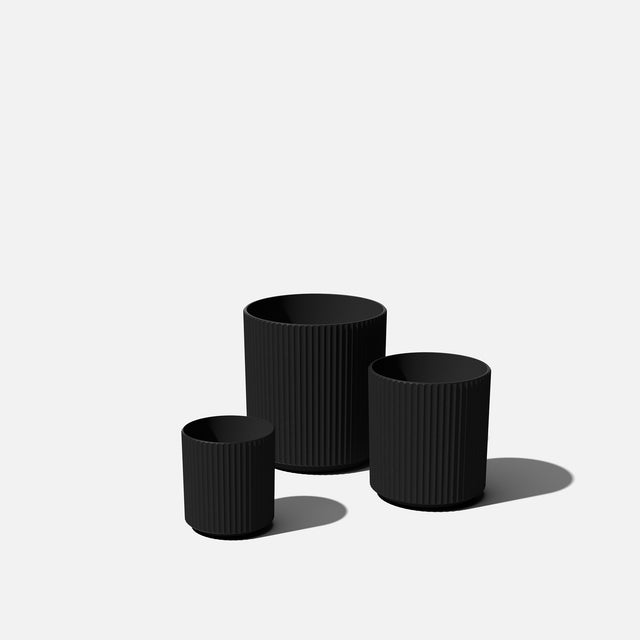
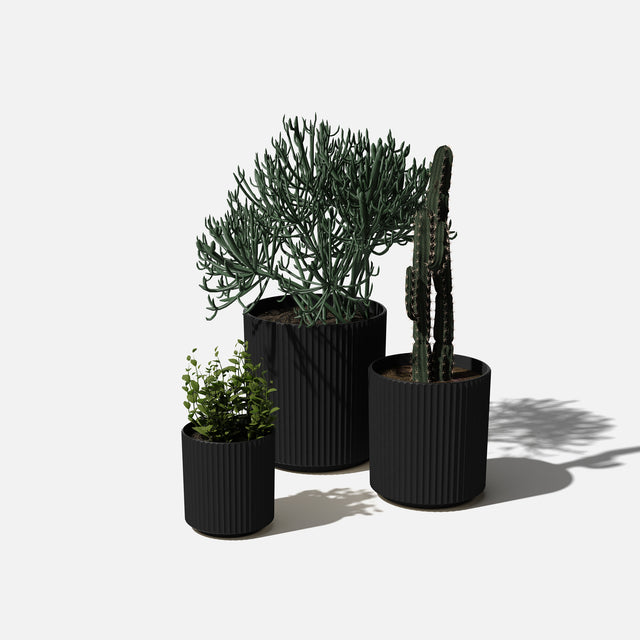
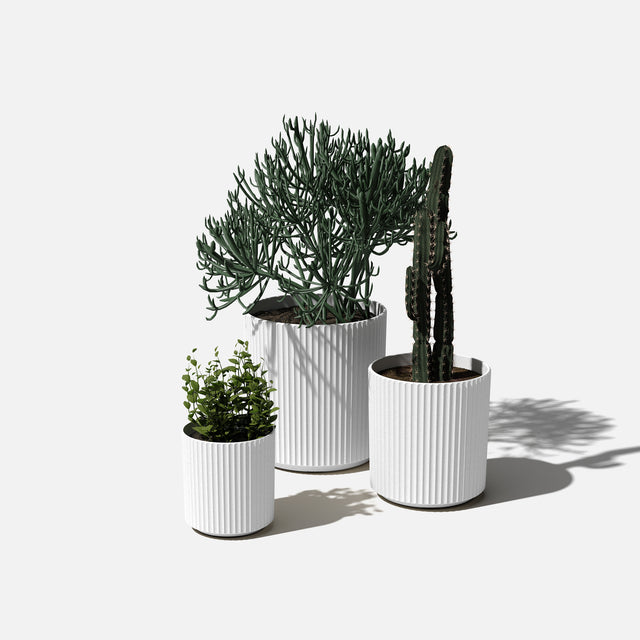
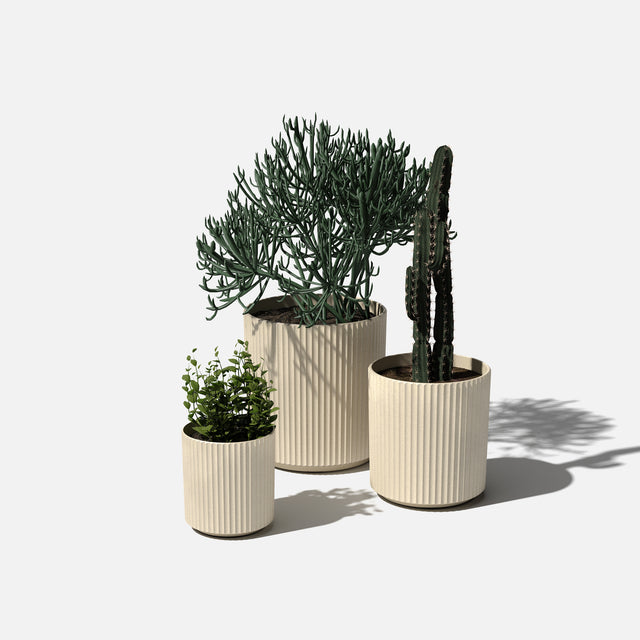
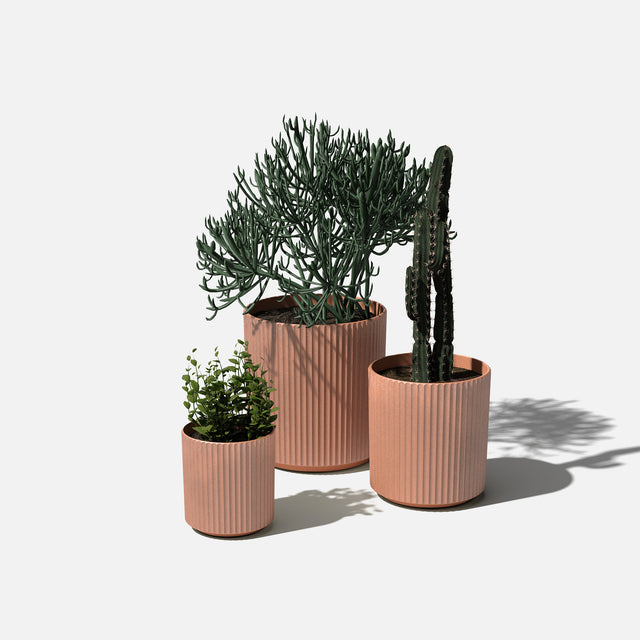
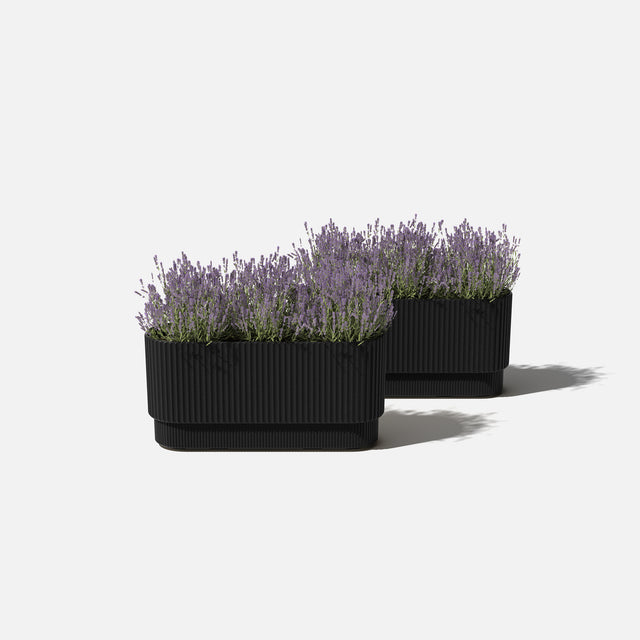
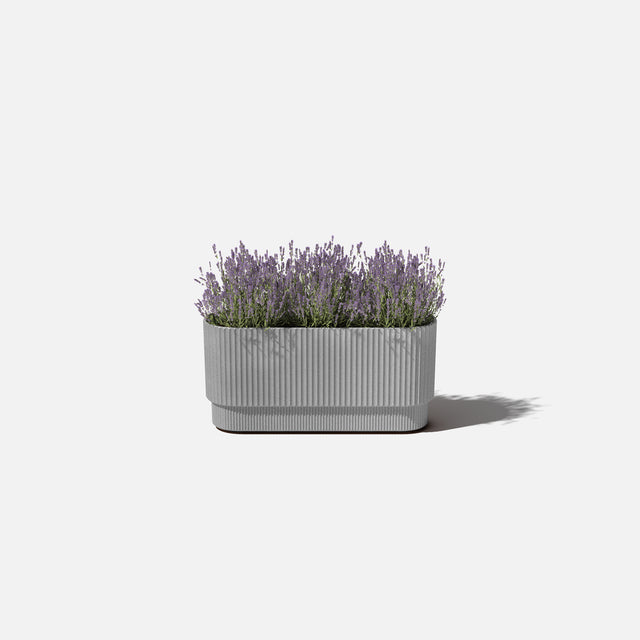
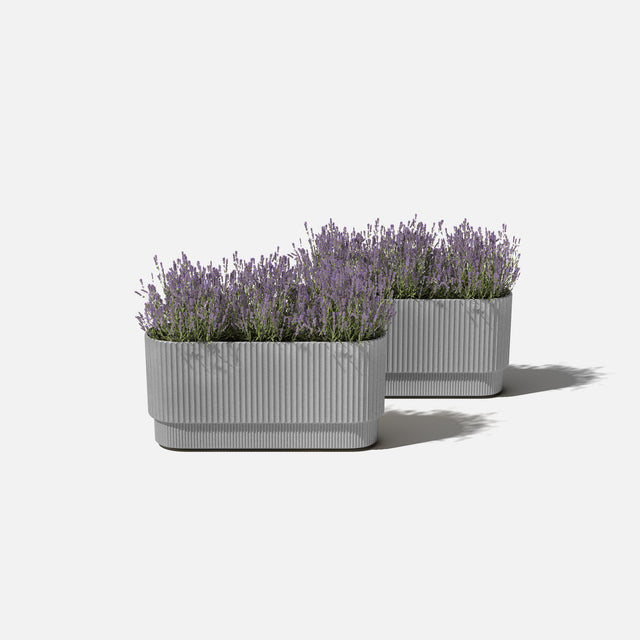
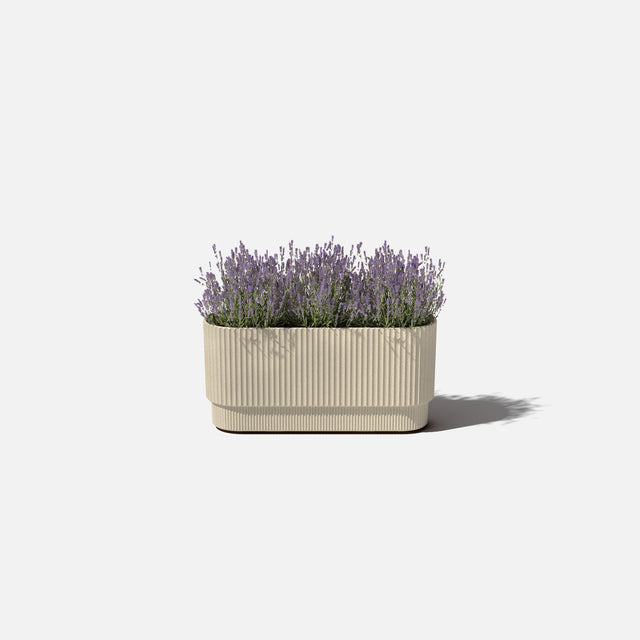
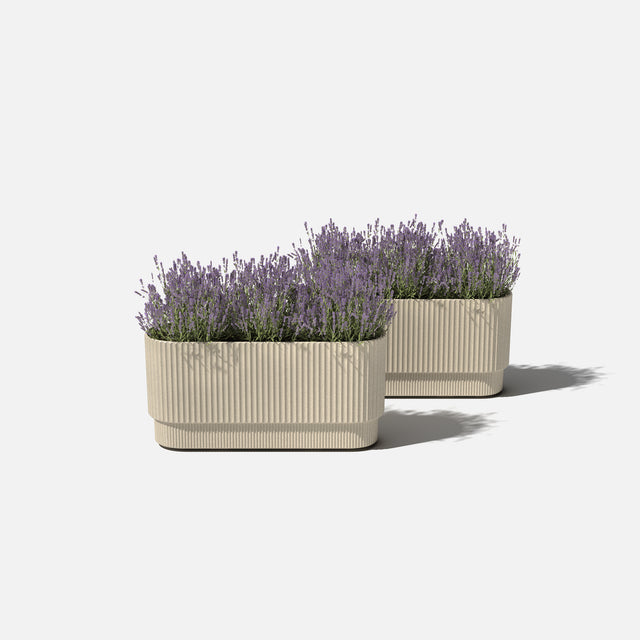
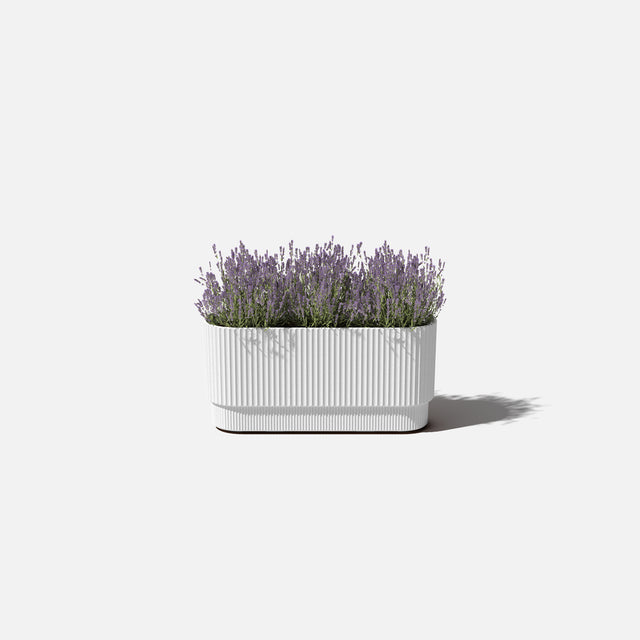
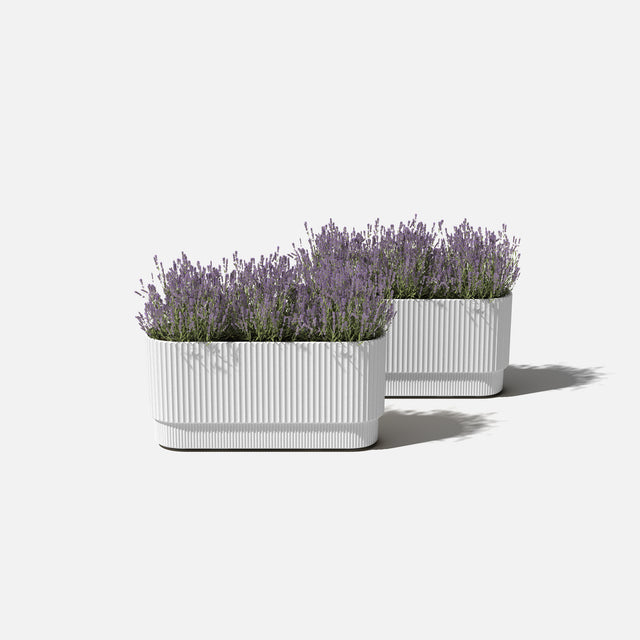
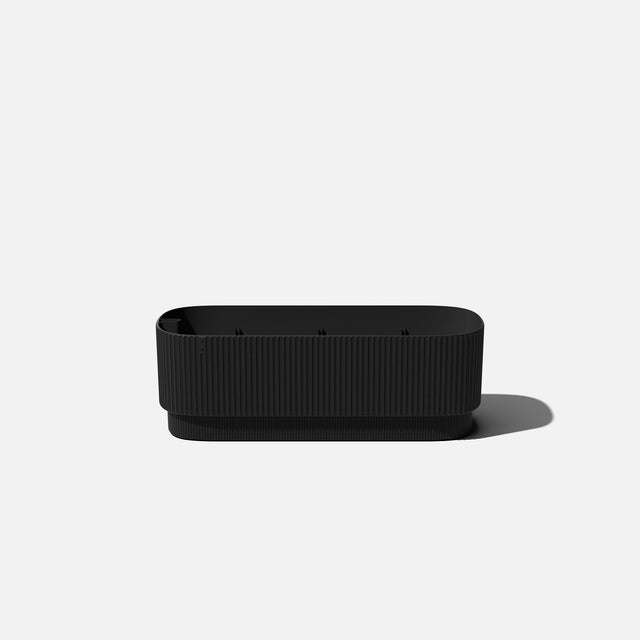
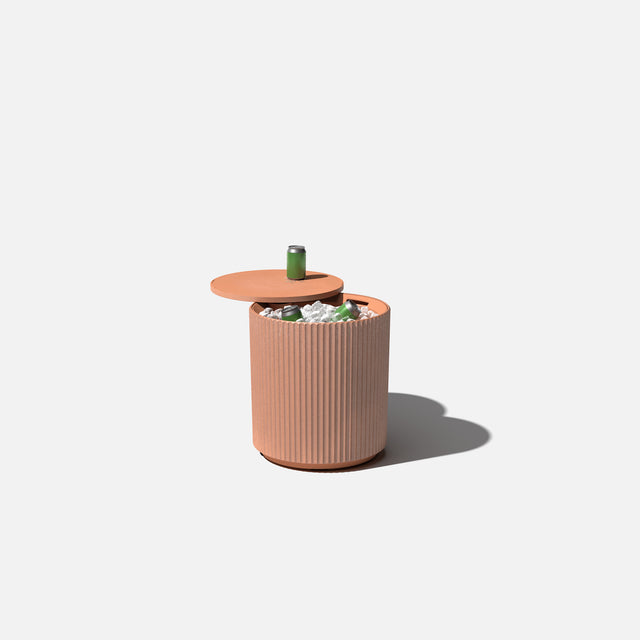
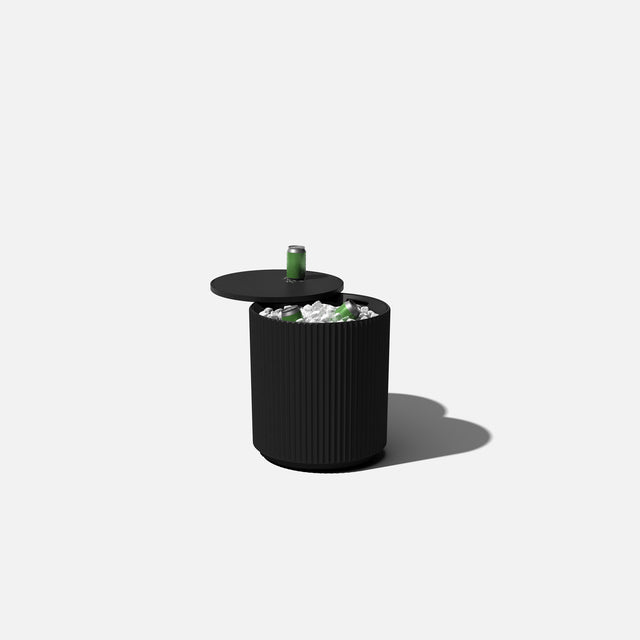
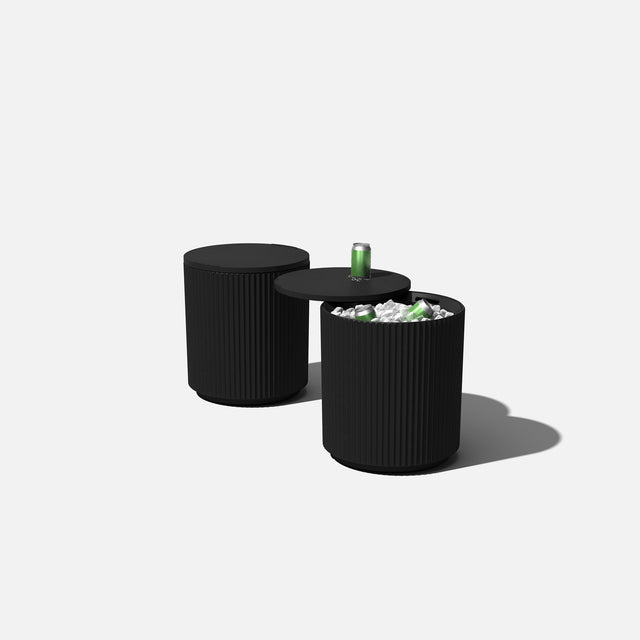
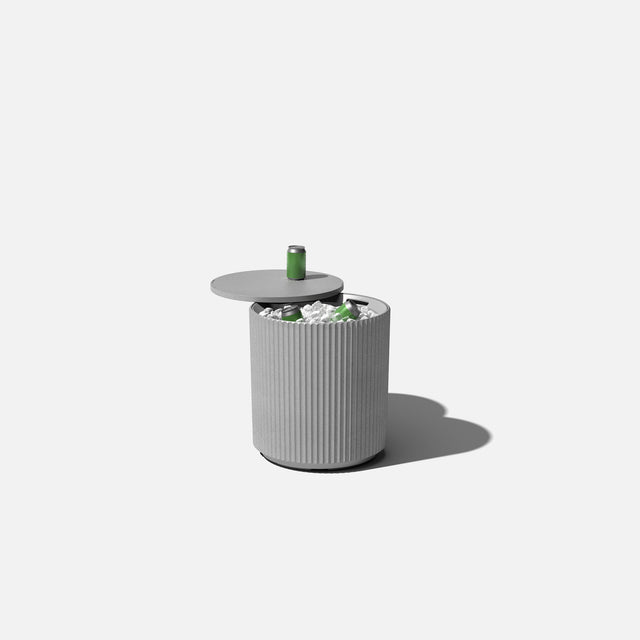
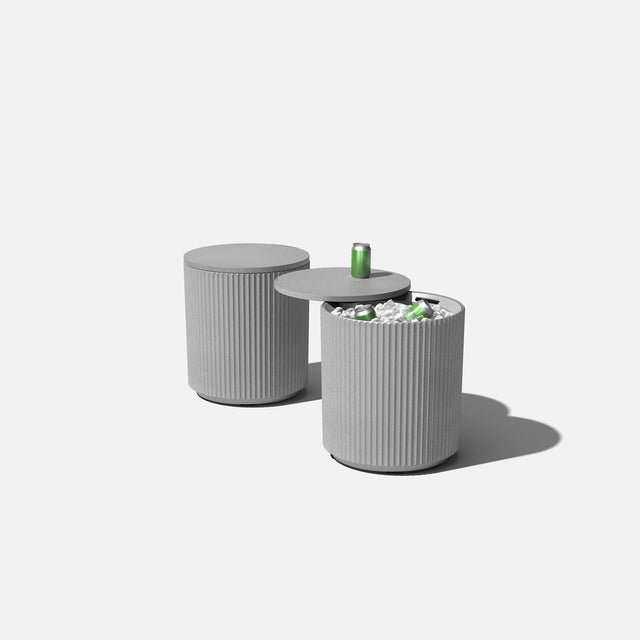
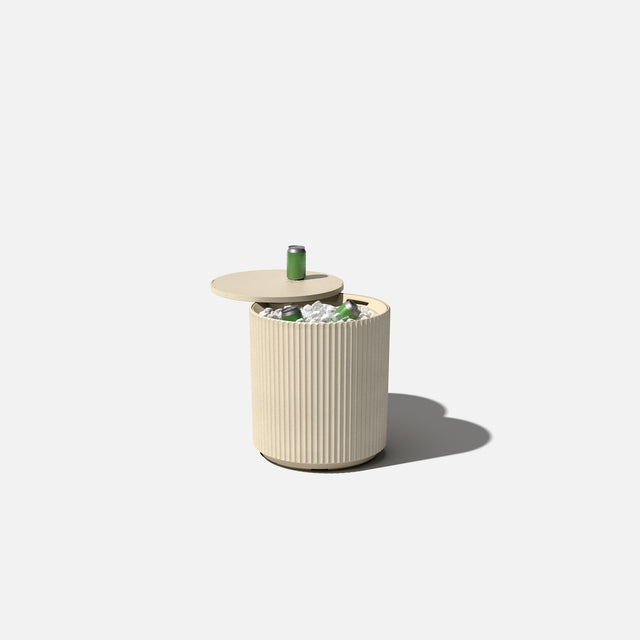
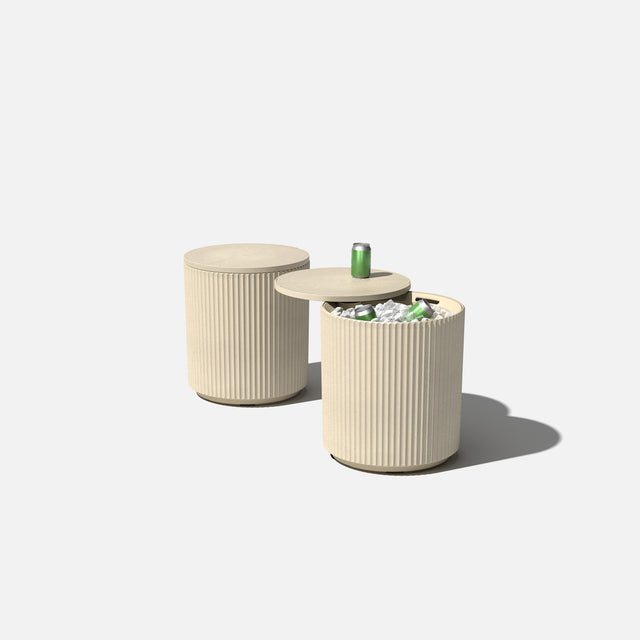
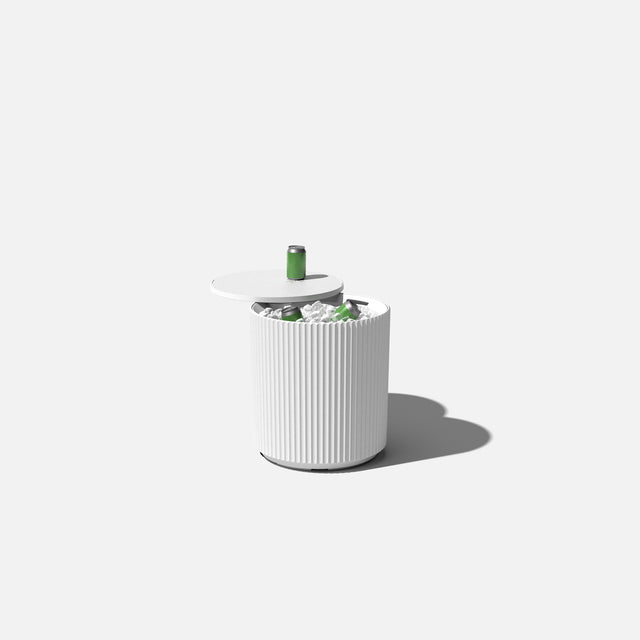
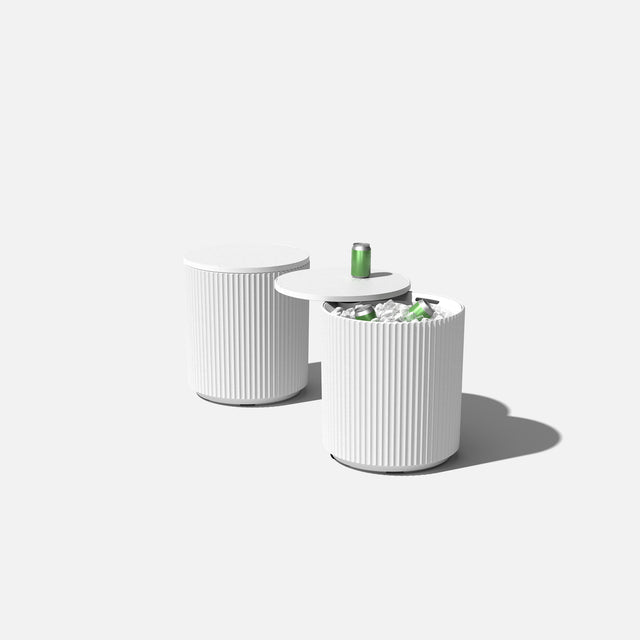
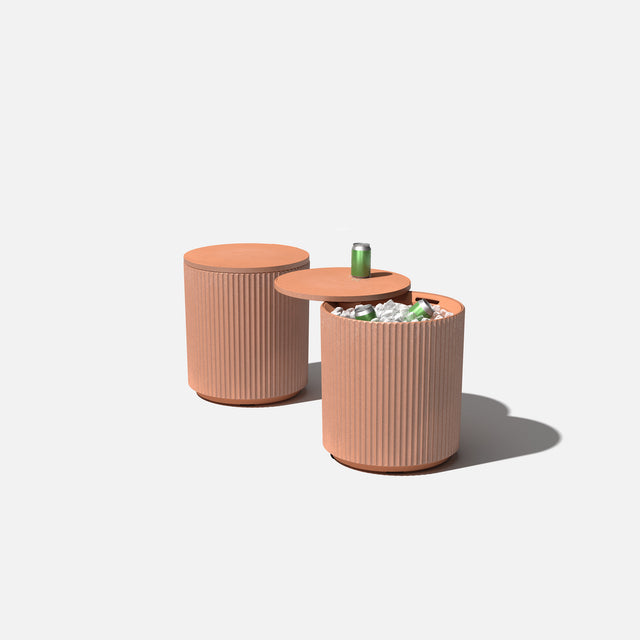
My real stone finish comes in an array of shades. Whichever you choose my fluted details will create a pleasing play of light and add a soft elegant touch to any space.

moisture control potting mix that's peat-based
worm castings
sea kelp meal

dracaena 'anita' stump

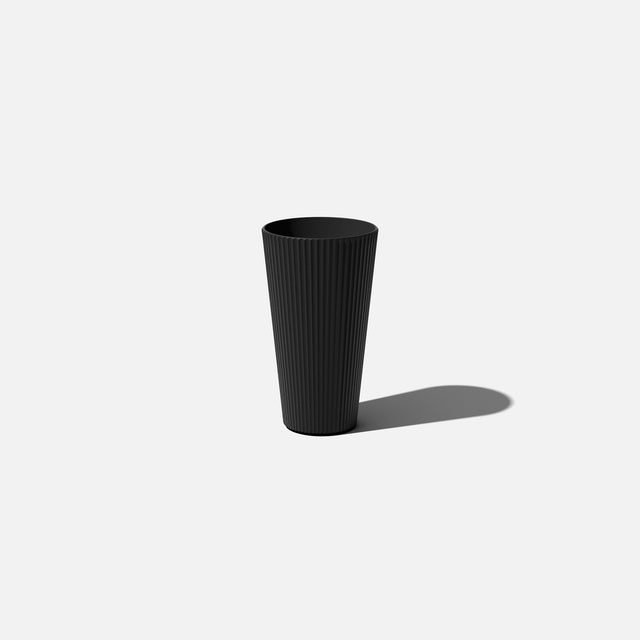
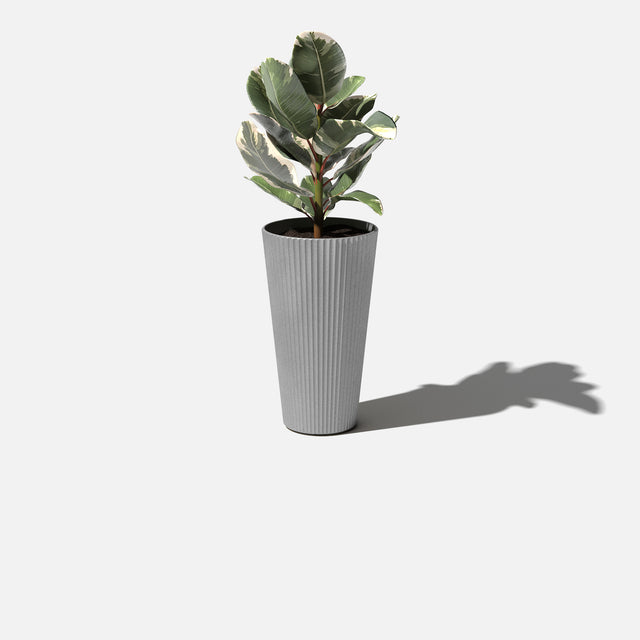
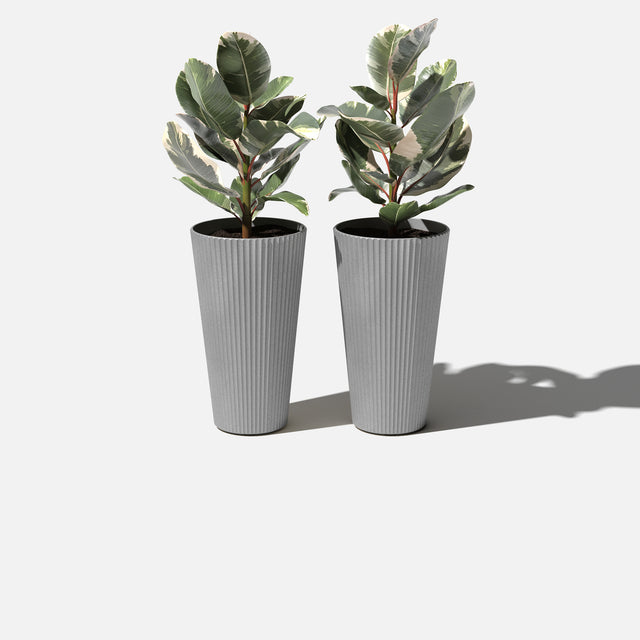
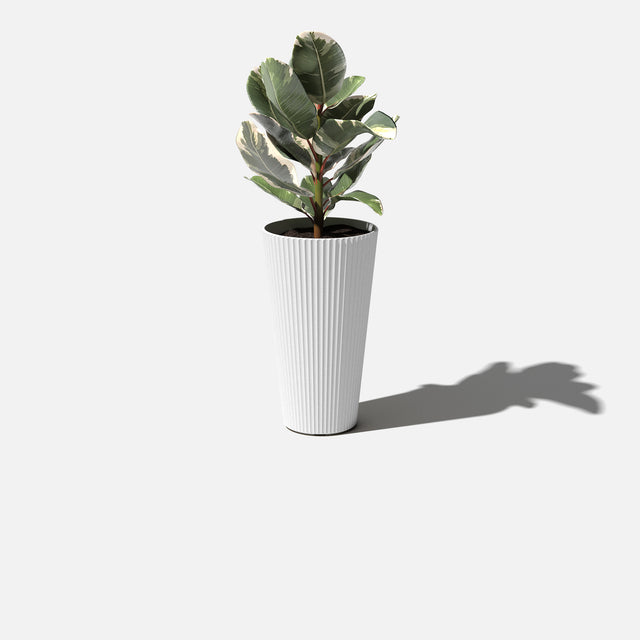
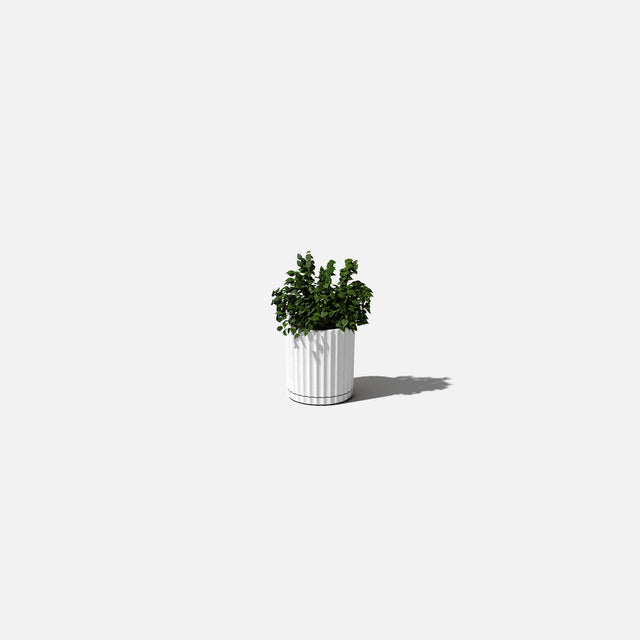
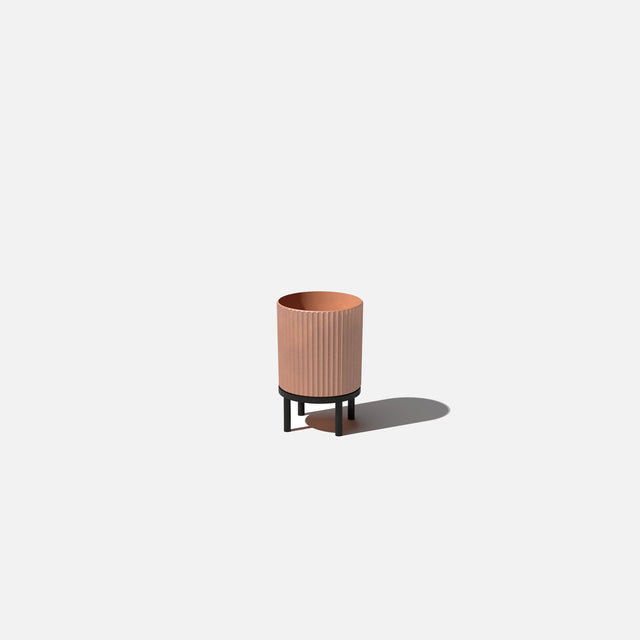
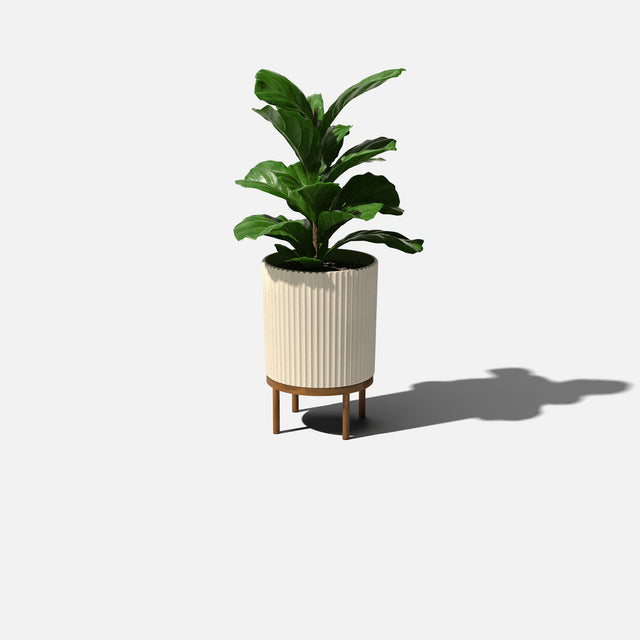
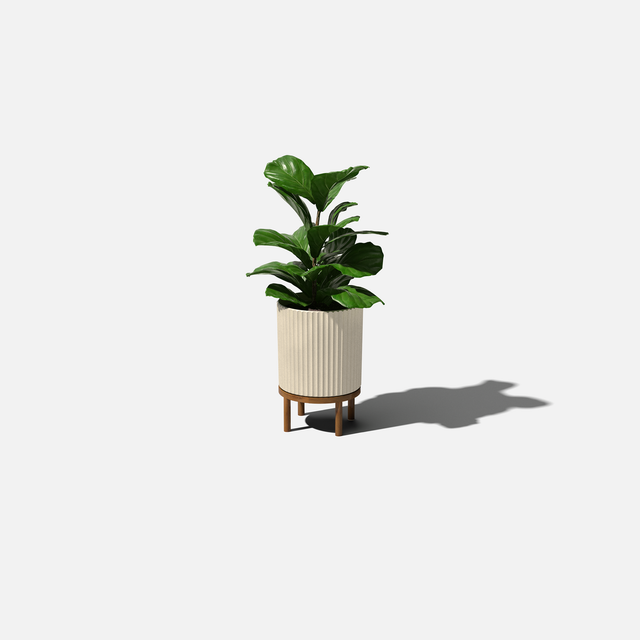
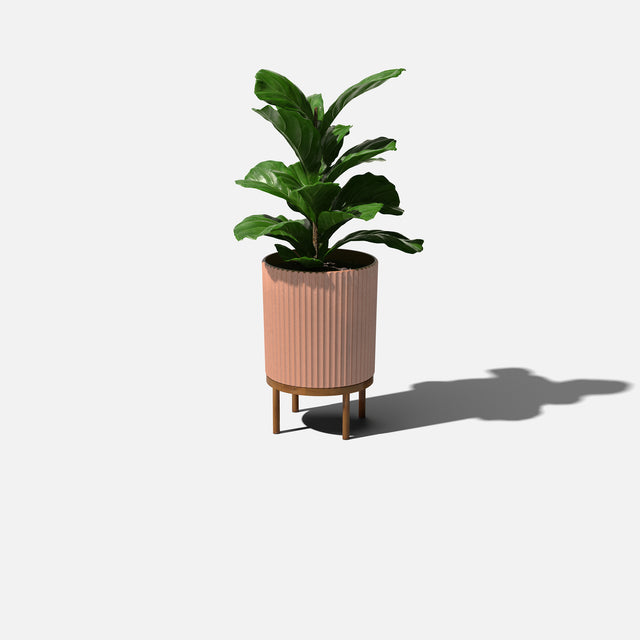
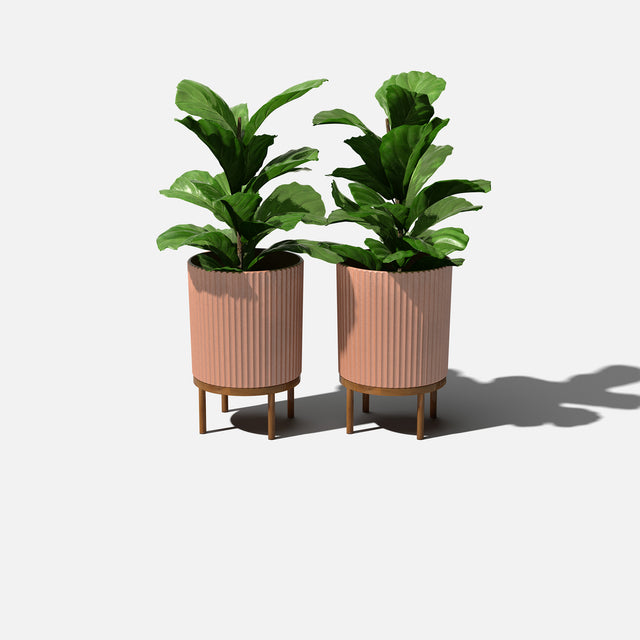
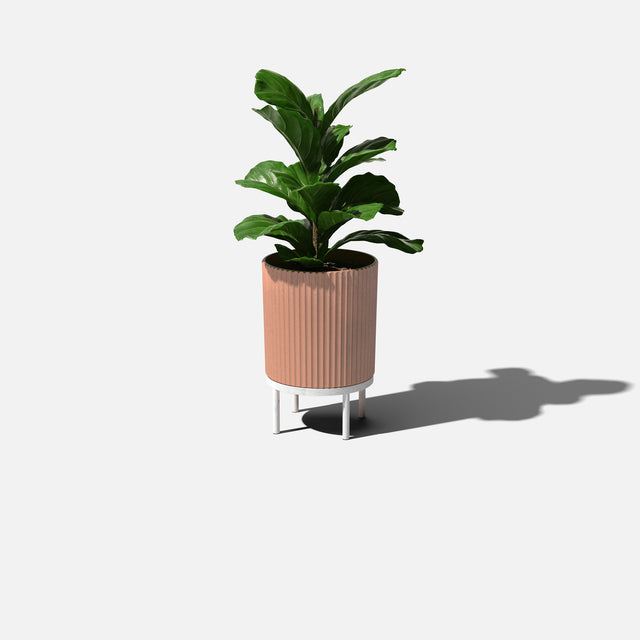
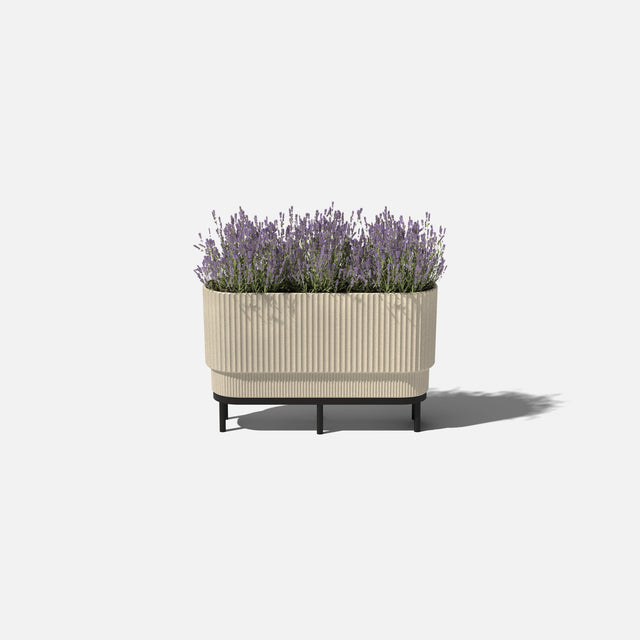
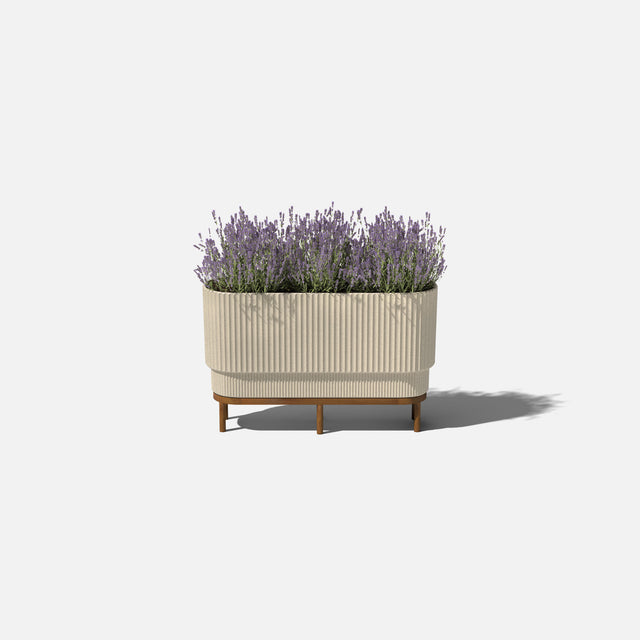
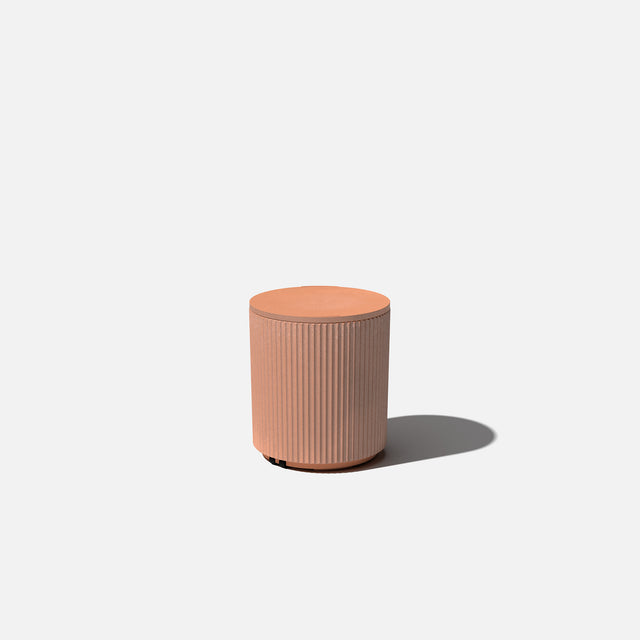
Tell us about your arrangement. You used the Demi Planter in sandstone, our newest planter and shade. Tell us, why did you choose this planter
For sure. I actually love this planter. I ordered extras. It looks so beautiful. When it came, I was like, “Oh wow, this is great. This is really nice.” I wasn’t expecting a pot that is, I guess, partly plastic.* To have such a beautiful finish — it reads like fiberglass or concrete. You can use it indoors, you can use it outdoors; it's lightweight but sturdy. And there are already drainage holes, so you don’t have to screw or drill in extras. It’s just a nice, modern, clean planter that I can see working in a lot of different spaces.
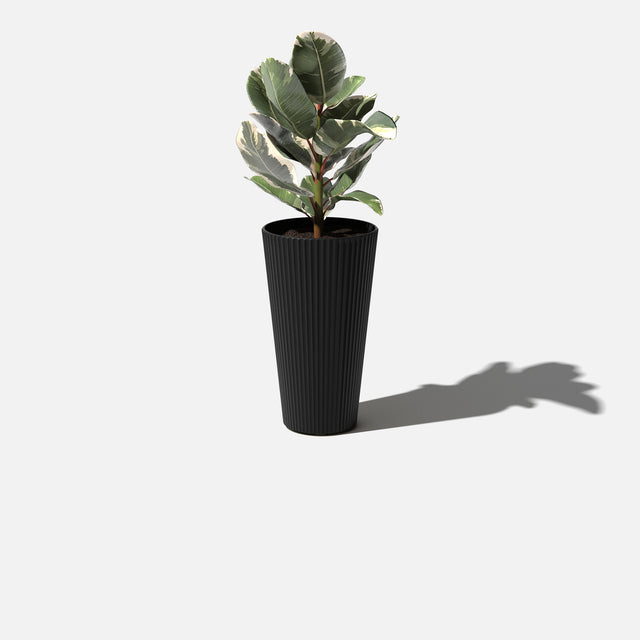
What kind of plants would work best for this container?
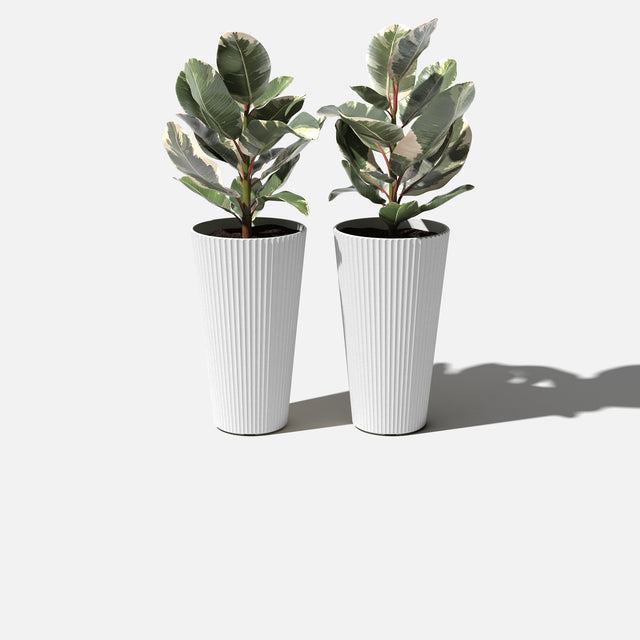
This is a planter that can work for both perennials and indoor plants. I would love to use tropicals in this one because there's something about that, that feels very statement like. I'd love to use an interesting indoor plant that has a little bit of structure some height to it, because the pot itself can handle that and the ridges really give it a nice finish that allows for the plant itself to shine.
Ready to get started? Follow the steps below to bring your own beautiful, edible plant arrangement to life.
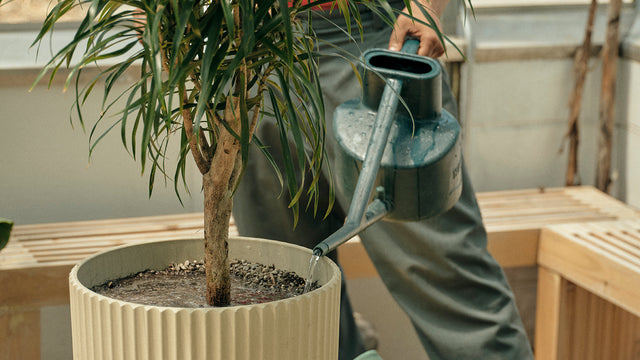
step 1:Start by adding a lightweight potting mix. This could be a pre-packaged soil blend or one that you make on your own, as long as you have a healthy amount of perlite or vermiculite. Usually, they look like little white balls found in potting mix. If your soil has a good ratio of the two, then you know you’re going to have good airflow in the pot itself, helping prevent root rot. step 2:
Now that we’ve lined the bottom of our pot with soil, let’s bring in our Dracaena ‘Anita’ Stump. This is a really low-maintenance plant and one I love to work with. It’s a big plant, so when you’re taking a plant of this size out of its pot, make sure you’re holding onto the base. Just gently wiggle it out of its nursery pot — the black plastic pot it came in.

step 3:
Now you’re going to gently tease out your roots. Just so that the plant’s roots will be able to spread freely into this new pot that we're putting it in.
Once you find the position you like, you’re going to start to backfill by adding more potting soil around the plant to stabilize it before you add in nutrients and additional soil. Remember that you can always use the same soil the plant came in. Most plants, especially ones purchased from a nursery or garden center, have spent their entire lives in that black pot, so the plant is already used to the soil, fertilizer, and feed that’s in the pot.

step 5:
Next, I like to add a little extra food and things that will help your new plant get used to its new home. As always, worm castings! I like to sprinkle them in and really work them into the soil, especially around the roots, so the plant can get all that good stuff right away.
We’re going to add one more thing: just a little shot of sea kelp. A light sprinkle is all you need to add extra nutrients for the plant. Sea kelp is an easy and natural fertilizer, which means it won’t burn the roots. A light sprinkle will slowly feed the plant over months. Sometimes when you use a liquid fertilizer, the plant takes it up right away, but with a dehydrated, granular fertilizer, it stays in the soil much longer and the plant can use it over a longer period of time.

step 7:
Remember you’ll always want to leave a little bit of a gap at the top of your pot, ideally like an inch if you can, so that when you do water the plant, there's no water that's going to fall over the sides.
And then in the future, when you start to notice that your soil level is going down a little bit, which happens naturally, soil compaction, watering, just changes in its environment, you can add on some more worm castings and fresh potting soil, and that will feed your plant every time you water it.


Copyright © 2026 Veradek US